Viral Hack! Here's How to Hang a Picture Evenly with a Piece of Painter's Tape
Viral Picture-Hanging Hack at a Glance
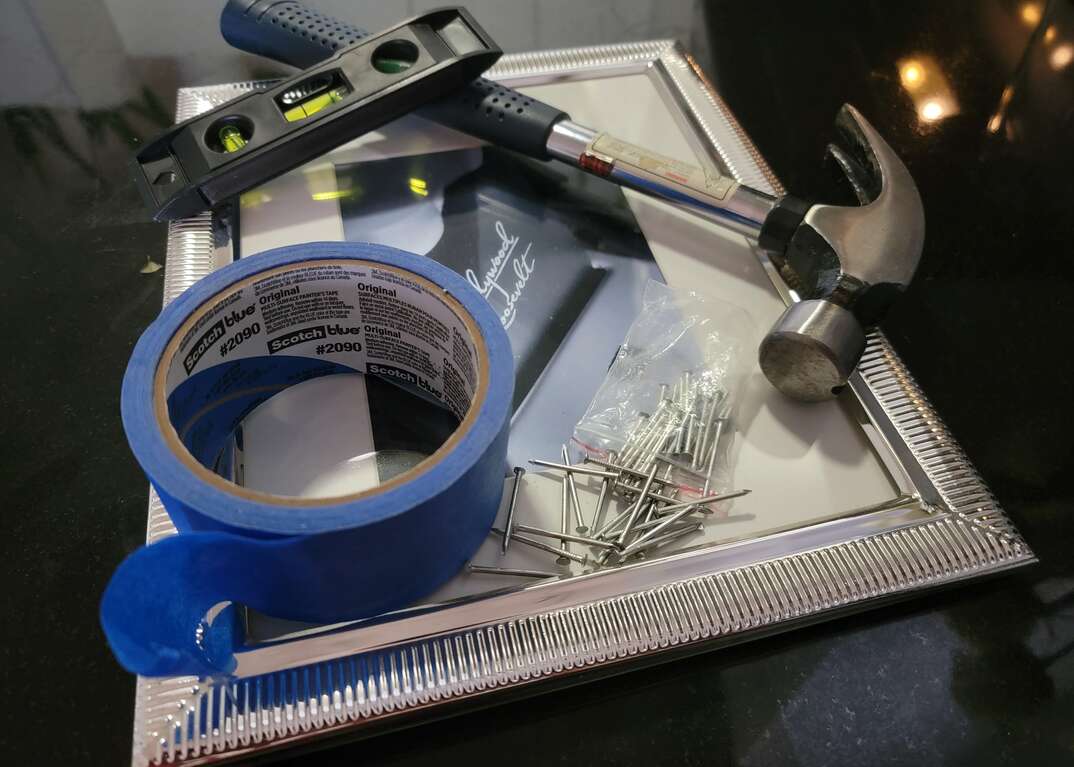
- Tools & Materials: Pencil, painter’s tape, nails, hammer, spirit level
- Step 1: Apply tape
- Step 2: Mark keyholes
- Step 3: Tape distance from keyhole to edge
- Step 4: Stick tape to wall
- Step 5: Hammer in nails or apply hanging strips
- Step 6: Hang picture
Hanging pictures can bring color and personality to any room, but hanging frames evenly is often a real headache. If you make a mistake while placing the nails or wall anchors, you could end up making multiple unsightly holes in the wall or a wonky picture frame.
This May Also Interest You: Anchors, a Way: How to Properly Use Drywall Anchors
Fortunately, there's an easy way to mark the wall for hanging pictures to ensure a level finish every time, and it requires zero DIY skills. Here’s how to use painter's tape to hang pictures with or without nails.
How to Hang a Frame With a Piece of Painter's Tape
The instructions below explain how to hang a picture using painter's tape step by step. Before you start, you'll need a few basic materials:
- Pencil
- Painter’s tape
- Nails
- Hammer
- Spirit level
Step 1: Apply Painter's Tape to the Picture
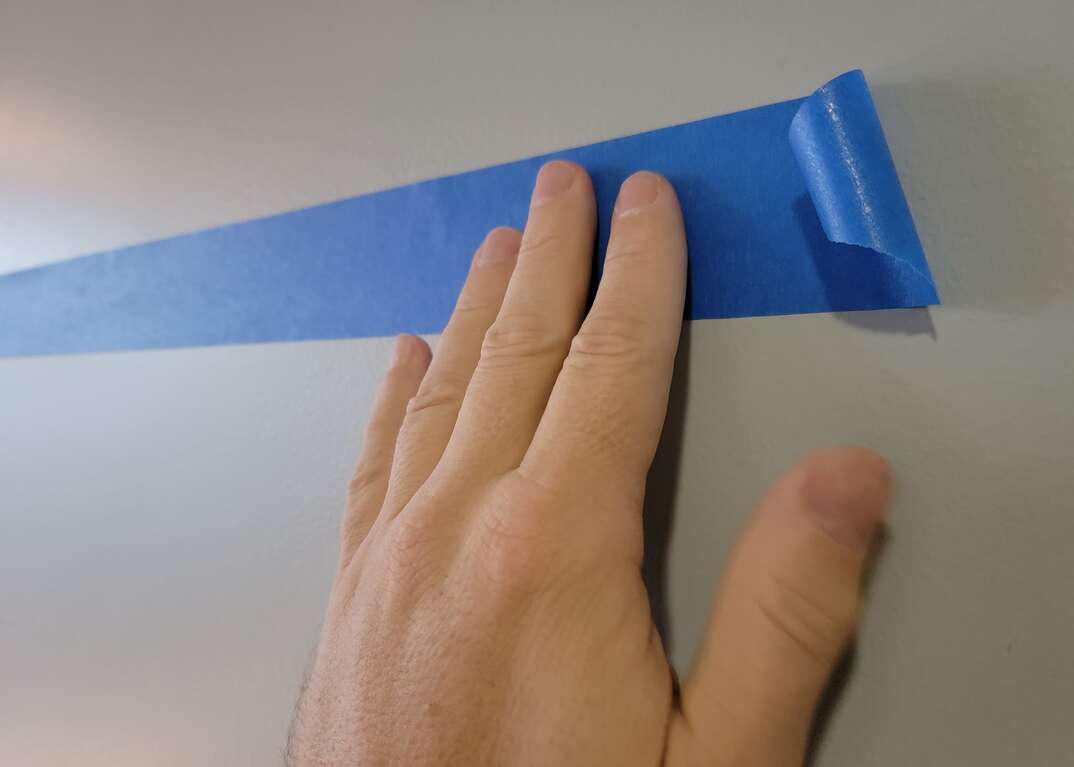
First, apply a strip of painter's tape across the back of the picture you want to hang. The tape should span the entire width of the picture and cover the keyholes where the nails slot in.
Step 2: Mark the Keyholes
Using your finger, feel the surface of the tape until you find the keyhole on each side. Grab your pencil and mark the keyhole locations on the tape so that you know where to hammer the nails on the wall. Alternatively, you could poke a small hole through the tape to mark the keyholes.
Step 3: Tape the Distance From the Keyhole to the Top Edge
Take a shorter piece of painter's tape and use it to measure the distance from the top of the keyhole to the top edge of the picture. Cut the tape to the correct length. This will make it easier to hang your picture at the right height.
Step 4: Stick the Painter's Tape to the Wall
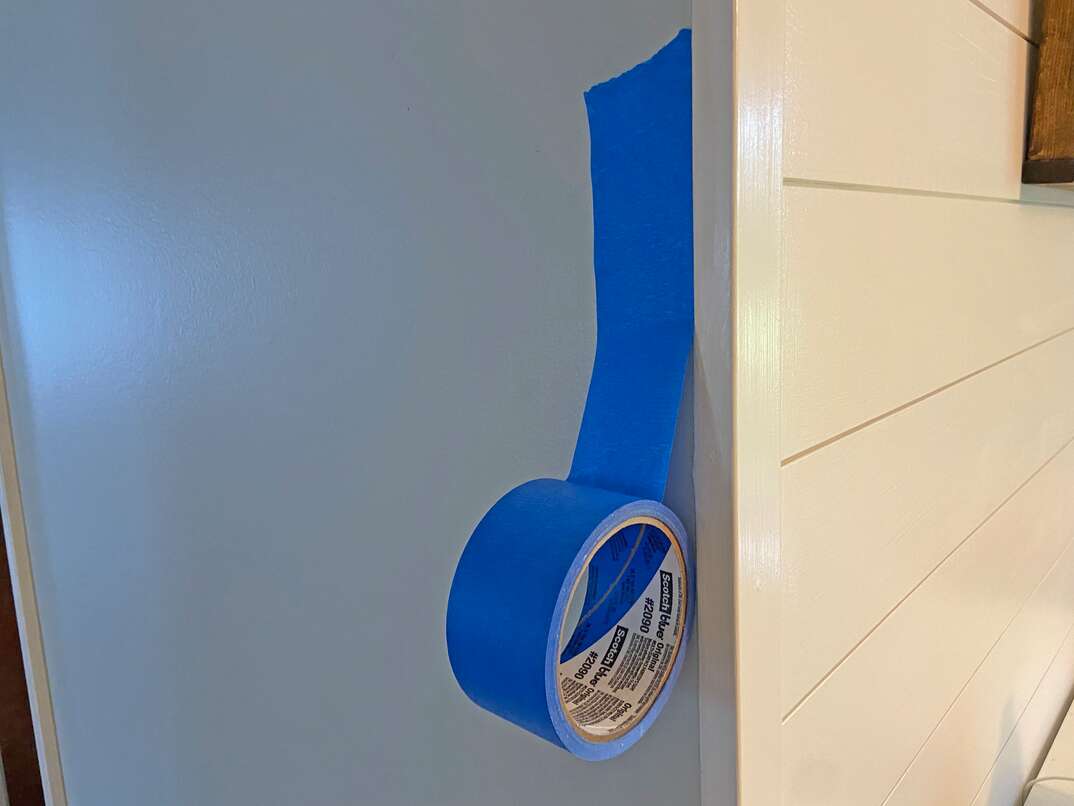
First, take the shorter piece of tape and apply it to the wall where you want to hang the picture. The top of the tape should sit where you want the top edge of the picture to be.
Once you've applied the shorter piece, stick the longer piece of marked tape to the wall underneath. Use a spirit level to check that the tape is applied perfectly straight. You can adjust the tape by peeling it off and reapplying it until it's level.
Step 5: Hammer in the Nails
You can now hammer two nails into the wall using the pencil marks as a guide, leaving a small amount sticking out to hang the picture. It's generally best to hammer the nails in at a slight downward angle.
Step 6: Hang Your Picture
Peel the tape off the wall and discard it. You can now hang your picture by sliding the nail heads inside the keyholes on the back.
More Related Articles:
- How to Remove Wall Anchors: 3 Techniques to Try
- How to Use the 3M Claw and Similar Drywall Mounts
- Here’s How to Hang a Planter
- How to Fix Drywall Cracks on the Wall or Ceiling
- How to Fix a Large Hole in Your Drywall
Nail-Free Alternatives for Hanging Pictures With Painter's Tape
If you're a renter or don't want to hammer nails or wall anchors into your wall, nail-free Command strips are a good picture-hanging alternative. These strips grip the wall without marking it, and you can remove them at the end of the tenancy by pulling down the tabs. They're only suitable for lighter frames, and you should check the weight limit on the packaging before applying them.
You can still use painter's tape for this method to get your picture level. Apply your Command strips to the back of the picture frame, then stick a strip of painter's tape to the wall where you want the top of the picture to go. The bottom edge of the tape should line up with where you want the top of the frame to sit. Use a spirit level to check that your tape is straight.
Press the picture firmly against the wall to hang it. Be careful to place the top of the picture along the bottom edge of the painter's tape and not overlapping it so that you can peel it off easily when you're finished.
