How to Replace the Battery on a Honeywell Thermostat

Home too hot? Too cold? Perhaps your thermostat isn’t working properly. Before calling in a heating or cooling professional, check to see if the issues with your home’s temperature are caused by something you can fix yourself, like a dead battery in your thermostat.
This May Also Interest You: Heat Check: The 5 Best Smart Thermostats for Your Home
If you’ve got a Honeywell thermostat, replacing the battery is a simple DIY task. Here’s what to do.
Thermostat Batteries
In general, most thermostat batteries last at least eight months. If you’ve got a Honeywell thermostat, you can expect the batteries to last up to a year. What’s great about digital thermostats is that even if you have a power outage, they will retain their settings. Honeywell thermostats have a low battery indicator light. Once this light comes on, you’ll have about 60 days to replace the batteries.
How Do You Take the Cover Off a Honeywell Thermostat?
If you believe low or dead batteries are the problem, you’ll want to replace them. The first thing is to take off the battery cover. There are two types of Honeywell thermostats: programmable and non-programmable. We’ll discuss the programmable type first, as those are the slightly trickier ones.
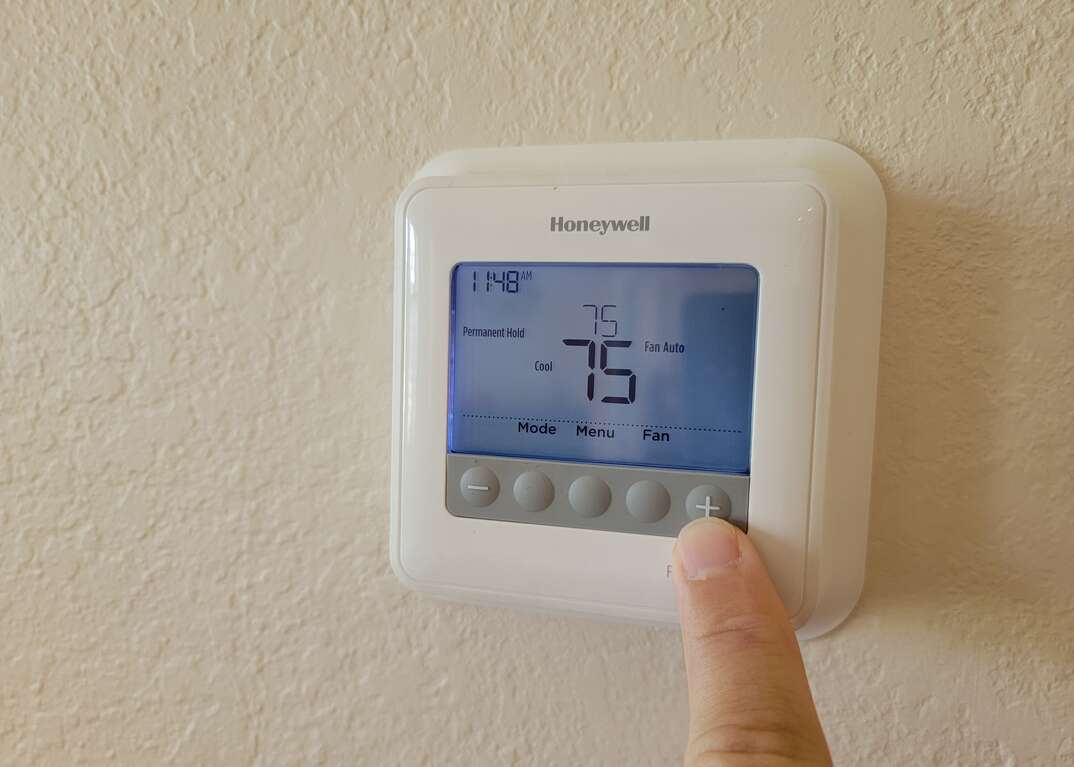
A programmable Honeywell thermostat has LED temperature readouts and a touchpad to set and control the temperature. If this sounds like your thermostat, first pull the lower right corner of the thermostat to loosen it. Then you can separate the cover from the body of the thermostat, which remains attached to the wall.
If you have a round, non-programmable Honeywell thermostat, you can remove the cover by hooking your finger underneath the outer plastic ring and pulling it towards you.
What about the decorative cover plate? If your thermostat has one of these, there are a couple more steps involved. First, turn off the electricity to your thermostat. Next, use the tips mentioned above to remove the outside cover. Next, use a screwdriver (most likely a Phillips) to unscrew the screws on either side of the thermostat’s body. Pull the thermostat away from the wall, then unscrew the screws at the top and bottom of the cover plate to remove it from the wall.
How Do You Replace Batteries in a Honeywell Thermostat?
Now it’s time to change those dead batteries. First, make sure you have two new AA or AAA batteries on hand, depending on the size your thermostat takes. It’s best to change both batteries, even if you think one might still be working. You’ll find the battery compartment on the side of your Honeywell thermostat. There should be a button on the top that you can push. Push it, and then pull the compartment out. Remove the old batteries, noting where the positive and negative ends are placed. Dispose of them properly and then insert your new batteries. Slide the battery compartment back into place, bottom first. A little push, and it should snap back into place.
With fresh batteries, your thermostat should automatically turn back on in a few minutes.
More Related Articles:
- How Much Do Thermostats Cost to Replace or Install?
- Smart AC Not a Dumb Idea If You’re Looking to Cut Climate-Control Costs
- 15 Ways to Save on Your Electric Bill
- How to Recharge a Ring Doorbell
- How to Set Up a Ring Doorbell
Troubleshooting
You’ve put new batteries in your Honeywell thermostat, but it’s still not working. Let’s take a look at some common issues and how to fix them.
First, Do You Have the Right Batteries?
If you are unsure, check the inside of the battery compartment. There should be a little note saying which battery size to use. The most common ones are 1.5V AA batteries. If you aren’t using the correct size, there might not be enough power to get your thermostat going. As we mentioned above, be sure to change both batteries at the same time. If one battery is new and strong and the other is old and weak, that could also affect your thermostat's function.
Did You Install the Batteries Correctly?
We mentioned above the necessity of the negative and positive sides of the batteries. There should be markings on the inside of the battery compartment to indicate which end of the battery should go where. Double-check that the batteries are indeed placed in their correct orientation.
If All Else Fails...
If the thermostat is still not working properly, you may want to consider a factory reset. Take care when doing this as you will lose all your settings. Resets are a good way to fix persistent issues, but realize your thermostat will revert to the general factory settings. You will need to reprogram your thermostat, doing the initial set-up process once again. If you aren’t sure what your settings are, write them down before you do the factory reset to make the reprogramming process faster. Check your user manual for instructions on how to factory reset your particular Honeywell thermostat model.


