How to Remove a Tile Backsplash

Removing a Tile Backsplash at a Glance
- Tools and materials: Hammer, knife, drywall putty, joint compound, sander, sandpaper
- Step 1: Prep the area
- Step 2: Remove tile
- Step 3: Remove adhesive
- Step 4: Patch drywall
- Step 5: Sand
An attractive tile backsplash can make or break your kitchen design. If you're not happy with what you currently have, it might be time to try something new. Whether you have ceramic, stone or glass tiles, removing a backsplash is typically a simple task. You may even be able to upgrade your backsplash without removing tiles at all.
This May Also Interest You: How to Install a Kitchen Backsplash in 7 Simple Steps
Here’s a quick how-to guide for safely removing your tiles without damaging your drywall — and a few hacks to use along the way.
Tools Needed
Before you can begin your DIY backsplash removal, you'll need all the necessary tools within reach. Make sure you have:
- Hammer
- Drywall putty
- Utility knife
- Putty knife
- Electric or hand sander
- Drywall sanding pad
- Drywall joint compound
- 120-grit sandpaper
Safety First
When you’re doing a DIY project, safety should be your top concern. Invest in proper gear like safety glasses, gloves and a dust mask. Protecting your eyes from tile shards and dust is especially important. A dust mask may be valuable during the grout removal and sanding process.
How to Remove a Tile Backsplash
Follow this step-by-step process to remove tiles without damaging your drywall:
1. Clear the Counter
Before you can get started, you need to create a safe workspace. Clear off the entire kitchen counter so nothing will get in the way or become damaged and dusty.
2. Prep the Area
Remove the covers from the electrical outlets on the wall. You should also turn off power to those outlets while you're removing the tile.
3. Begin Removing the Tile from the Wall
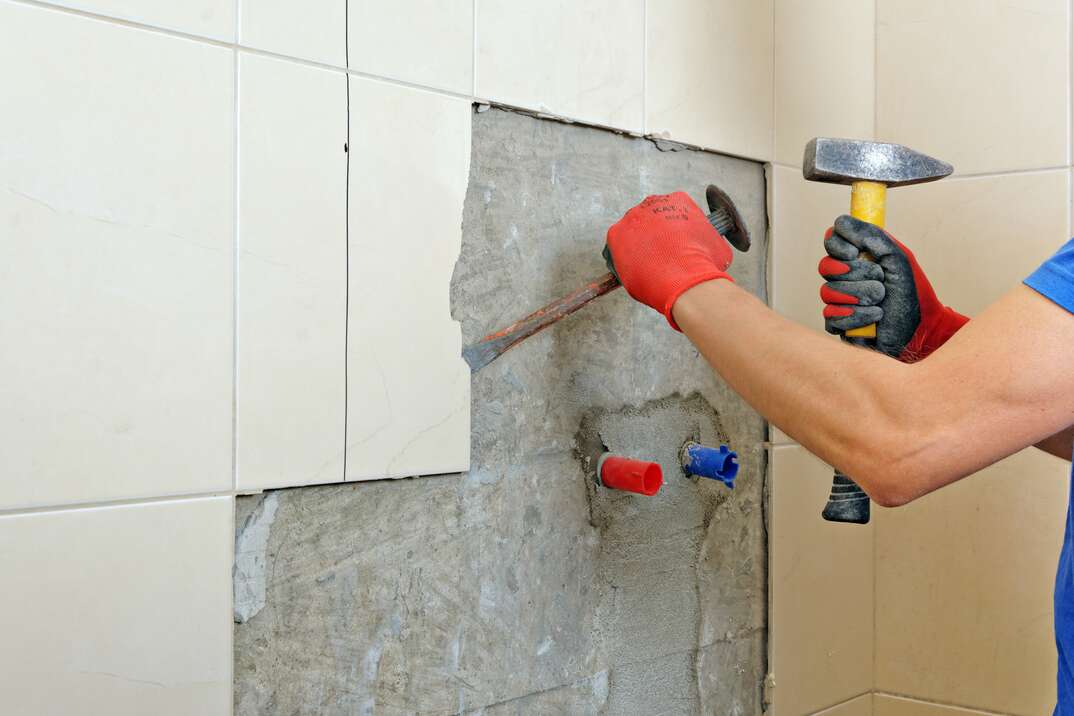
Using your hammer and putty knife, carefully chisel the tiles off the wall. They will likely break apart into smaller pieces. Be mindful of the drywall. Try not to dent or gouge it as you chip away at the tile.
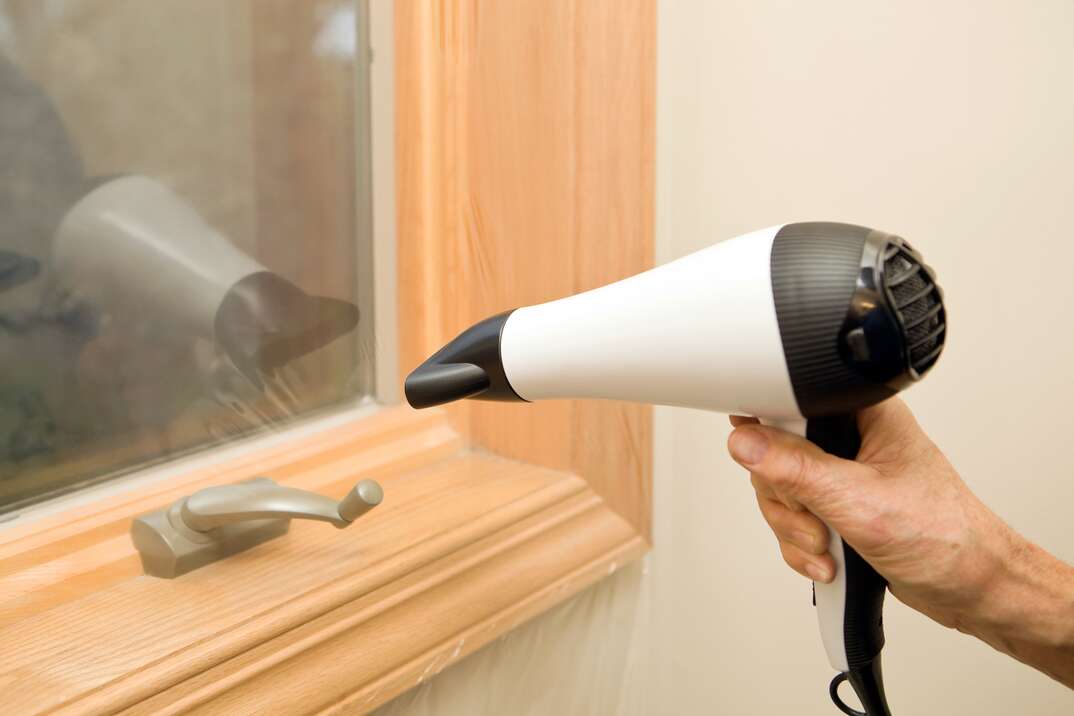
If you have a peel-and-stick tile backsplash, removal should be a breeze. Use a hairdryer to heat up the backsplash and gently peel it away from the wall.
4. Assess the Adhesive
Once the tiles are removed, you can examine the adhesive left behind. This adhesive will either be semi-soft or hard.
5. Remove the Adhesive Accordingly
The rock-hard adhesive is a cement-based product called thin-set. To remove this, use your putty knife to scrape and chisel it off the wall. Thin-set removal typically requires some elbow grease. Semi-soft adhesive can be removed from the wall using 120-grit sandpaper. The adhesive left behind by peel-and-stick tiles can be removed with degreaser.
6. Patch Up Drywall
Once you've removed the adhesive, assess the drywall. Hopefully, your kitchen backsplash removal has left it undamaged, but there's a chance that the putty knife has left a few gouges. Fill in any gouges with your drywall joint compound, then use your sandpaper to even it out until it's smooth.
7. Sanding
Use the drywall sanding pad to smooth the entire wall, leaving no trace of adhesive or preexisting grout lines. When you're finished sanding, you should be left with smooth drywall where your tile backsplash once was.
More Related Articles:
- How Much Does It Cost to Install or Replace Tile?
- Everything You Need to Know About Terrazzo
- How Much Does It Cost to Remodel a Kitchen?
- 10 Awesome Home Improvements That Won’t Break the Bank
- How to Clean Grout
FAQs
How Do You Replace a Backsplash Without Removing Tile?
If you want to skip right to the part where you get your dream kitchen backsplash without first removing the tile, there are a few shortcuts. However, you should think carefully about taking this route as it might result in even more work in the future.
Without removing your existing backsplash, you can install a new one by using decorative panels or peel-and-stick vinyl. A single panel or sticker with your chosen design is placed over the existing backsplash.
Can You Remove Tile Without Damaging the Drywall?
By following the described method of backsplash removal, it's possible to remove tile without damaging the drywall. When you’re using the putty knife, it may leave small gouges in the drywall that need to be filled with joint compound.
Is It Difficult to Remove a Tile Backsplash?
Rest assured: It's easier than it sounds.
Your experience removing backsplash will vary depending on how it was installed in the first place. While a peel-and-stick tile backsplash can be removed faster, it's also more likely to damage your drywall as it comes off. A tile backsplash that has been installed properly shouldn't impact your drywall during removal, but it can be a more time-consuming process to remove the tiles individually. If the backsplash has been set directly to the drywall, this may result in damage.
Since we’re all home now more than ever, being prepared for unexpected home repairs with a plan from HomeServe is important. Having a plan in place gives you peace of mind knowing that you can simply call our 24/7 repair hotline for covered breakdowns. See what plans are available in your neighborhood.


