Here's How to Remove a Shower Drain
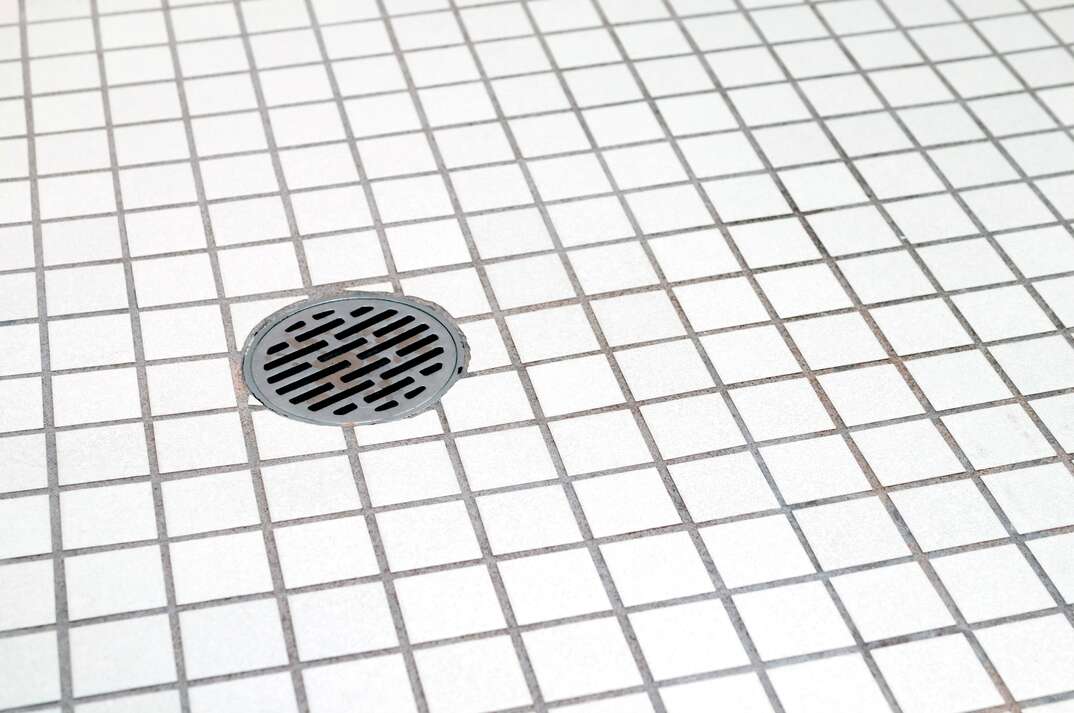
Removing a Shower Drain at a Glance
- Tools & Materials: Drain snake, lubricant, flathead screwdriver, needle-nose pliers
- Step 1: Unclog drain
- Step 2: Lubricate components
- Step 3: Remove screws
- Step 4: Loosen drain
- Step 5: Remove drain
If your shower drainage is a bit sluggish or you notice rust or other damage, you may need to remove the drain to repair or replace it. If you've never removed a shower drain before, you may be wondering whether you can do the job yourself or if it's best left to a professional plumber.
This May Also Interest You: How to Remove a Bathtub Drain
Fortunately, this is a quick and straightforward job for even the most inexperienced DIYers. You just need the right tools and these step-by-step instructions.
How to Remove a Shower Drain: Step-by-Step Instructions
Before you start removing your shower drain, grab a container to keep the screws and other parts safe. You'll also need a few pieces of equipment:
- Drain snake
- Lubricant
- Flathead screwdriver
- Two sets of needle nose pliers
Step 1: Remove Any Clogs
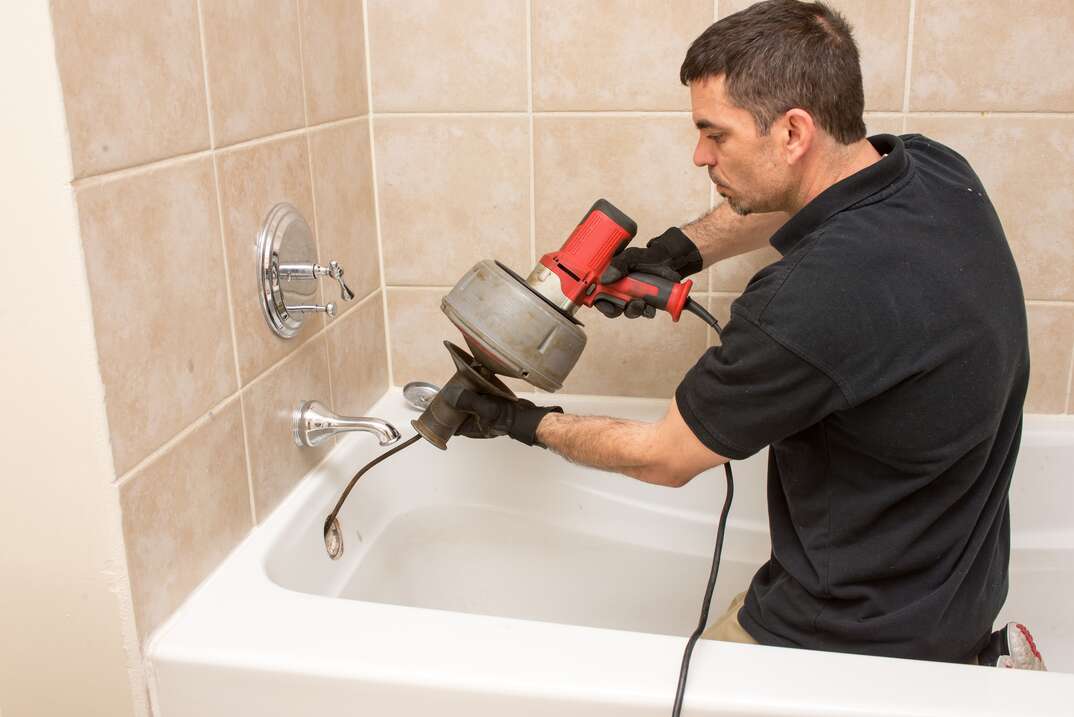
Start by turning on the shower for a couple of minutes and observing how your shower drains. If it drains slowly, it's a sign that you need to unclog the drain before removing it. Skipping this step and removing the drain while it's still blocked could cause it to snag and damage the fixture.
The quickest and most effective way to unclog your shower drain is to insert a drain snake to pull out the hair, grease or any other residue causing a blockage. If you don't have a drain snake, you could try pouring hot water down the drain with baking soda and vinegar.
Step 2: Lubricate the Drain
Prying your shower drain free can be tricky, especially if it's been in situ for a long time. You can make your shower drain easier to remove by coating it thoroughly with a silicone-based lubricant or WD-40. Don't try and improvise by using cooking oil or any other greasy products, as this could contribute to blocking the drain later on.
Coat all the visible parts of the drain liberally with the lubricant and pour some down the drain to cover the parts you can't see. Leave the lubricant to work for 10 minutes or so before moving on to the next step.
Step 3: Remove Any Screws
Next, take a close look at your shower drain to see if there are any screws holding it in place. If there are, use a flathead screwdriver to remove them. Place them in a secure container to keep them safe, as you'll need them to replace the shower drain or install a new one. Be careful not to let any screws fall into the open drain as it will be impossible to retrieve them.
Step 4: Loosen the Drain
Take two pairs of needle nose pliers and place them in the openings on opposite sides of the drain. Be careful not to scratch or damage the drain if you intend to reinstall it later on.
Once your pliers are in place, turn the drain counter-clockwise to loosen it. Keep turning it until it's completely unscrewed. If you feel resistance, don't force it as you could cause damage. Instead, spray on some more lubricant and wait 10 minutes before trying again.
5. Take the Shower Drain Out
Grip the drain firmly by pinching two opposite openings with the needle-nose pliers and pulling it upwards. Do this carefully if you plan on repairing the drain instead of replacing it. If it's difficult to remove, it may need some more lubricant or there may be a blockage in the way. Relubricate the drain and check it for clogs before pulling it out if it's stubborn.
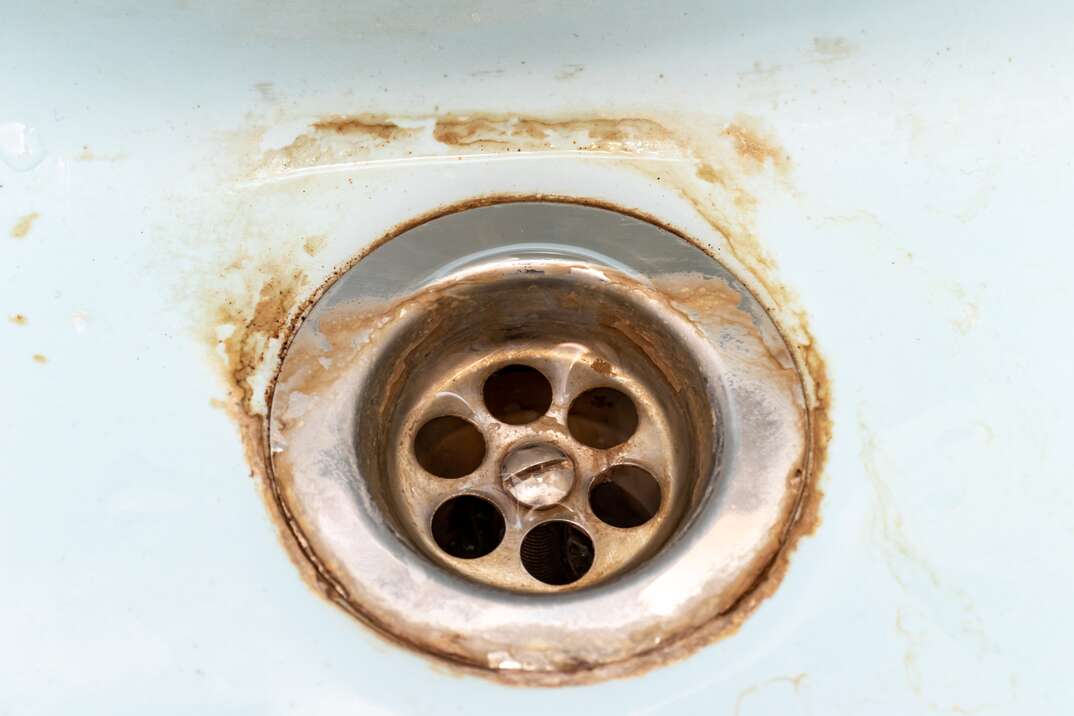
Finally, remove any remaining clogs and give the drain a thorough cleaning, removing any rust. If the drain is severely corroded or damaged, you should consider replacing it with a new one.
More Related Articles:
- How to Remove a Bathtub Stopper
- How to Unclog a Shower Drain
- 15 Common Plumbing Problems Every Homeowner Needs to Watch Out For
- How to Replace a Shower Handle
- How to Install a Shower Pan
 -------------------------------------------
How Do You Unscrew a Shower Drain?
One of the most crucial parts of understanding how to remove a shower drain is knowing how to unscrew it. If you have a drain model secured with screws, you'll need to remove them before you unscrew the shower drain.
Once you've taken out any screws, it's important to know which way to unscrew the drain. Turning it to the left, or counter-clockwise, will loosen it and allow you to pull it out. Turning it the other way will tighten it and could make it very difficult to remove. You won't be able to unscrew it using your hands, so make sure you have two pairs of needle-nose pliers at the ready.
How Do You Remove a Shower Drain Cover Without Screws?
If you have a shower drain cover without screws, you'll need first to identify what kind you have. The most common type is a lift-and-turn cover, which you can remove relatively easily using your hands. Simply pull the cover upwards and then unscrew the base counter-clockwise until it's loose enough to pull off.
Toe touch covers are also reasonably straightforward to remove. Press the cover to open it and then lift and turn it counter-clockwise. If there are screws at the base, remove them using a flathead screwdriver.
You can remove a push-and-pull drain cover by pulling it up into the open position. Once it's open, unscrew the knob by turning it counter-clockwise. You can then use a flathead screwdriver to remove the drain cover by inserting it into the square slot and unscrewing it counterclockwise.
Once you've taken off the drain cover, follow the steps above to remove the drain.
How Do You Remove a Pop-Up Drain Cover?
To remove a pop-up drain cover, press and release it so that it springs up into the open position. Turn the lid counter-clockwise until it twists off, unscrew the base and lift the rest of the cover out of the drain. Then follow the step-by-step instructions to remove your shower drain.
