How to Remove a Bathtub Stopper

Bathtub stoppers present problems in two categories for homeowners: Either they stop holding water, or the stopper needs to be removed to fix a slow or clogged drain. In both situations, removal of the stopper is necessary for the homeowner to be able to fix the problem.
This May Also Interest You: What Is a Shower Diverter Valve (and Why Should You Care?)
Read on for some important considerations to help you along your path to fixing your stopper or drain problems.
Different Types of Bathtub Stoppers Are Removed Different Ways
Whether your bathtub stopper needs replacing or you’re tackling a clogged bathtub drain, the first step in removing the component is identifying what type of stopper you have:
- If your bathtub uses a simple removable plug, you might just be able to swap it out with a new one and be done with it.
- If it’s not a case of your plug not working but instead a slow or clogged drain, skip down to the section on removing the drain strainer.
- If your drain stopper is a model that is “retained,” meaning it simply goes up or down but remains attached, you’ll need to find your stopper type below.
Let’s begin with the most common types in use today:
Trip Lever Stoppers
When you look at your bathtub drain, if you see the drain plug and the plug goes up and down via a separate lever mounted somewhere between the drain and the top level of the tub, you likely have a “trip lever stopper.” The housing where your drain lever sits also acts as an overflow drain to prevent, among other things, flooding the bathroom.
Move the lever so that the top of your stopper is in the “up” position. Hold the stopper and use a gentle twisting motion while pulling up. Sometimes you may need to jiggle the stopper while pulling upward. Usually, a gentle effort is all that is needed for this kind of stopper to lift free of the drain.
Push-Pull Stoppers
Push-pull stoppers are a type of bathtub stopper with knobs on the top. Push down and feel it seat in place to close the drain, and pull it up to open the drain.
First, you’ll need to remove the knob. These knobs screw on so you’ll need to use two hands, one to hold the stopper in place and the other to unscrew the knob. If the knob is being stubborn, you can use a cloth or towel around the knob and pliers to break it loose. Turn the knob counterclockwise — or lefty-loosey, as they say — until it comes off.
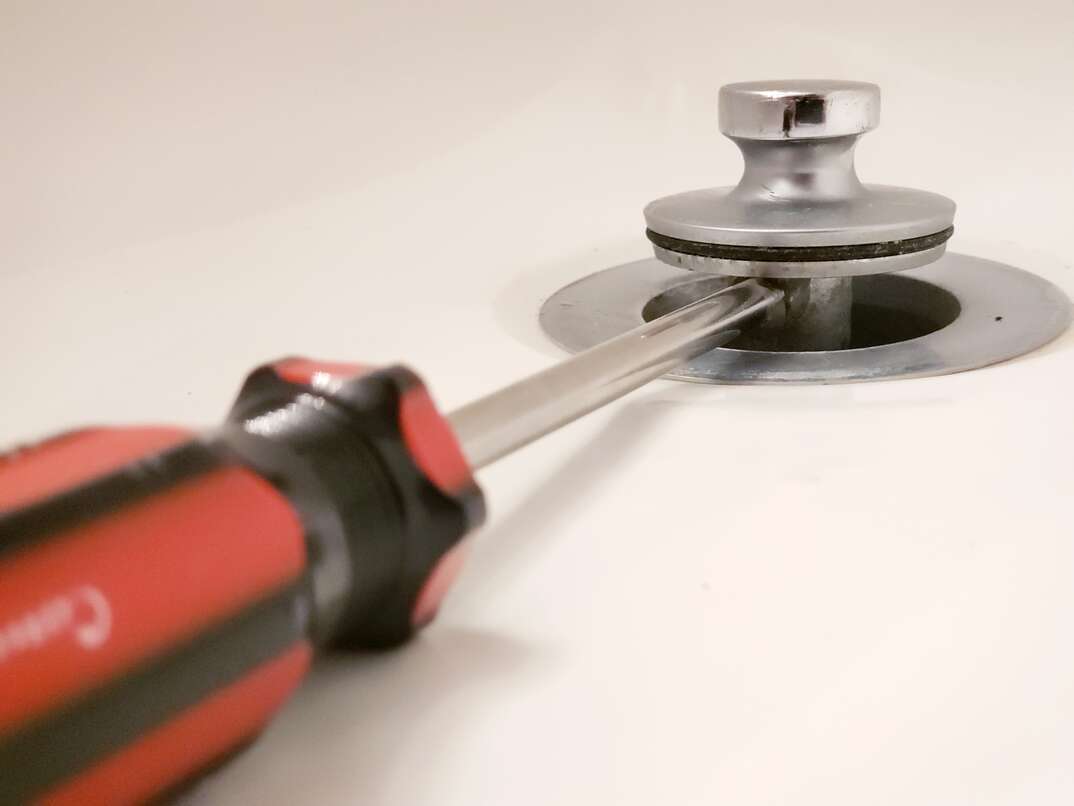
Next, you should see a post or screw that attaches the stopper to a crossbar on the strainer. This can be removed with a screwdriver by turning counterclockwise and lifting it out of the strainer.
Toe-Touch Stoppers
These are called toe-touch stoppers because there are no knobs on top and they kind of pop up and down to open and close easily with a touch of your toes.
Start with the stopper up or open. With your hands, turn the top of the stopper lefty-loosey. Sometimes the cap comes off separately from the base cylinder, in which case you repeat the process with the cylinder separately. Or you may have a model for which the top cap and the base are one unit and come off together.
Lift and Turn Stoppers
This is the other kind of stopper with a knob on top, and you’ll likely be familiar with how it works. Lift and turn to lock the stopper open, and do it again until the stopper drops to close it.
It’ll be helpful for you to have your smartphone camera handy for this one, as you’re going to need to get a closer look at the stopper. With the stopper up, turn the knob while you look for a set screw on the knob. If there is one, it’ll likely be an “Allen” or “hex-head” screw.
If there isn’t a screw on the knob, check the stopper body itself in the same manner. Once you find the set screw, use the proper tools (screwdriver or Allen wrench) to remove the set screw and separate the knob and/or stopper from the stem screw.
If you don’t see a set screw, try to unscrew the knob from the base by lifting and turning the knob counterclockwise until it comes off. Some of these models have a channel-pin set up where, once you align the channel and pin, the stopper will slide right out.
If you aren’t seeing any set screws or channel-and-pin mechanisms, you may need to apply more force to break the knob and stopper loose. Use a towel or rag and clamp down on the knurled part of the knob with pliers. While pulling up, again try and slowly turn the knob lefty-loosey.
How Do I Remove the Bathtub Drain Strainer?
Now that the stopper or plug is out of the way, you may need to remove the strainer. This can be for situations of bathtub drain replacement or to allow better access for plumbing tools used to remove clogs. You’ll need a drain wrench from the hardware store if you don’t have one.
The strainer in your bathtub drain looks like a plus sign or cross. The drain wrench is a tube with channels that fits the plus sign and allows you to use a wrench handle on the other end. With the drain wrench in place, turn the wrench lefty-loosey and remove the strainer.
At some point in every homeowner’s life, there will be plumbing problems that need prompt attention. HomeServe provides protection for problems not covered by homeowner’s insurance. Learn about plumbing plans from HomeServe and how they can provide peace of mind you that you'll be covered in an emergency.


