How to Prune Trees and Shrubs
Pruning Trees and Shrubs at a Glance
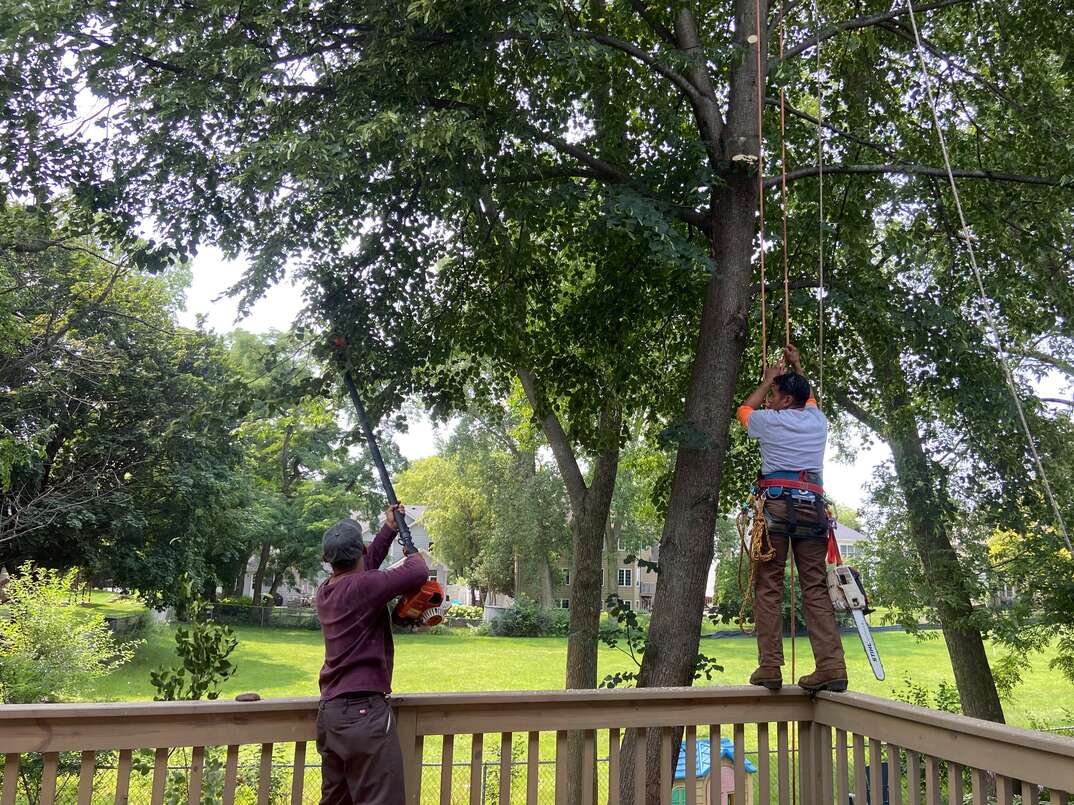
- Tools & Materials: Hand pruners, pruning loppers, hedge shears, hedge trimmer, pruning saw, pole pruner
Pruning Trees
- Step 1: Remove damaged branches
- Step 2: Remove competing leaders
- Step 3: Thin canopy
- Step 4: Raise crown
- Step 5: Reduce crown
- Step 6: Balance canopy
Pruning Shrubs
- Step 1: Thin
- Step 2: Shape
- Step 3: Hard prune
- Step 4: Try rejuvenation pruning
- Step 5: Deadhead
Pruning trees and shrubs makes them live longer and look nicer — but only if you do it at the right time and with proper technique.
This May Also Interest You: How Much Does It Cost to Prune a Tree or Shrub
Keep your landscape healthy and vibrant by learning how to prune trees and shrubs.
Reasons to Prune Trees and Shrubs
In most cases, pruning trees and shrubs is done for one or more of the following reasons:
Health
Dead, damaged and diseased branches can become a breeding ground for insect infestations, and diseases from branches can spread throughout the tree or shrub. Disease development and branch damage can be minimized by improving airflow and light penetration, which you can do by thinning out dense clusters of branches, along with removing certain weak and vulnerable branches within the canopy.
Safety
Dead, dying and diseased branches are at heightened risk for falling to the ground, placing people and property underneath at risk. Low-hanging branches near roadways can obstruct the view of oncoming traffic or strike passing vehicles and pedestrians. Vertically growing branches at the top of the canopy can come into contact with overhead power lines, which can present a significant fire hazard.
Aesthetics
Shaping the tree’s canopy can make it more visually appealing. Aside from the aesthetic benefits, pruning techniques like crown raising, crown reduction, thinning and balancing the canopy also improve the health of the tree.
Fruit and Flower Production
Properly pruning flower- and fruit-producing trees or shrubs will enhance production and may extend the fruiting or flowering season. Pruning back heavy branches that are burdened by an excessive amount of fruit can also prevent that branch from breaking.
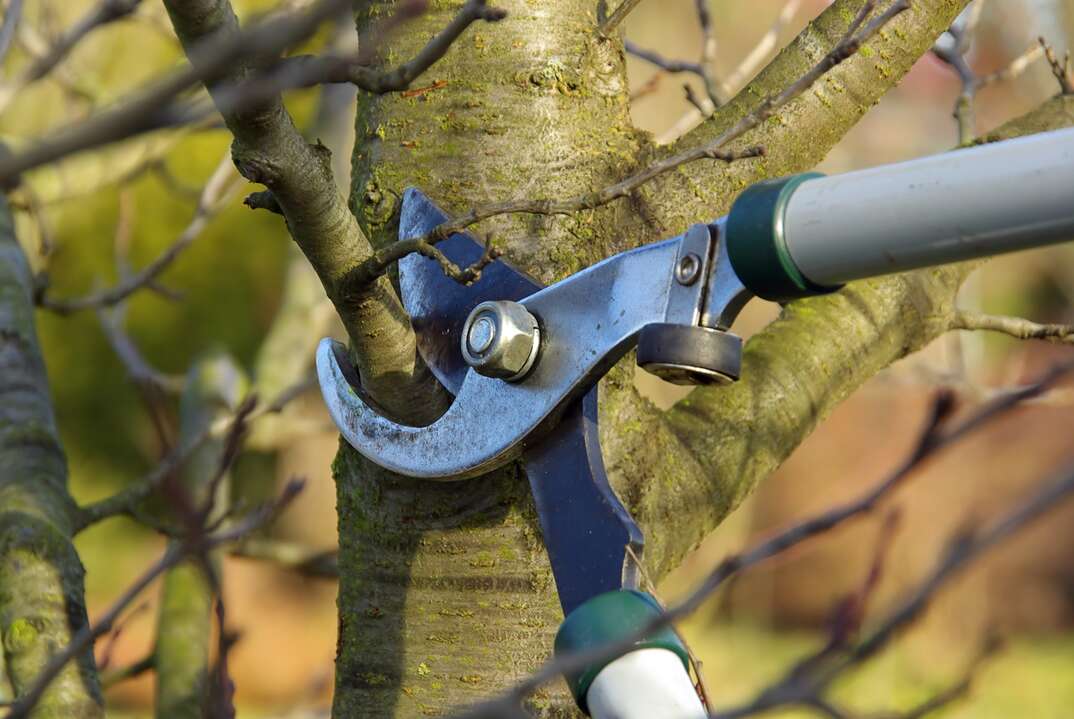 -------------------------------------------
Pruning Trees: Things You’ll Need
- Hand pruner
- Pruning lopper
- Pruning saw
- Pole pruner (for tall branches inaccessible by hand tools)
When Should Trees Be Pruned?
The best time of year to prune a tree largely depends on the reason you’re pruning it. Although dead and diseased branches can be removed at any time of year as soon as they’re discovered, certain types of pruning should be reserved for specific seasons.
Early Spring and Late Winter
Pruning for growth, flowering and fruit production is best performed in early spring or late winter while the tree is still dormant. Pruning fruit trees while they’re dormant is especially important, since pruning during other times of the year can create “suckers” (new stems that sprout at the base of the tree) that direct energy away from fruit production. Additionally, identifying the best pruning cut locations is often easier during dormancy because the branch structures aren’t concealed by leaves.
Summer
As a general rule, pruning in the summer should only be done when you’re trying to inhibit new growth. Even then, it should be done sparingly.
Trees and shrubs expend most of their resources during the spring to stimulate new growth, so they won’t have leftover reserves to regrow summer pruning cuts. This can be advantageous to hinder the development of fast-growing trees and to stunt the growth of suckers. However, pruning in the summer places most trees at heightened risk for disease development and insect infestation, so this is generally inadvisable. The one exception is spring-flowering trees that should be pruned as soon as their flowers begin to fade in late spring and summer.
Fall
While thin pruning can be done in the fall, heavy pruning is usually discouraged. Pruning a tree too early in the fall — before it’s dormant — can stimulate new growth that may not have time to properly “harden” and will likely die during the first freeze. If a large amount of new growth was stimulated by heavy pruning, the entire tree could suffer as all the new growth dies off simultaneously. That being said, light pruning that concentrates on heavy and vulnerable branches can reduce the chance that they’ll break during snowstorms or heavy winds.
How to Make Pruning Cuts
Branches smaller than 1/2 inch in diameter can be trimmed with a hand pruner or pruning lopper using a single cut. When pruning these smaller branches, make the cut 1/4 inch past the nearest leaf bud at a 45-degree angle to optimize wound healing and regrowth.
Branches larger than 1/2 inch in diameter should be pruned with a pruning saw using three separate cuts:
1. Beginning about 18 inches away from the trunk or nearest “branch crotch” (angle formed when a branch forks in a different direction), cut a third to a half of the way through the bottom of the branch. This is called the “undercut.”
2. About an inch past the undercut, cut into the top of the branch until the branch snaps off, leaving a stub behind.
3. Make your final cut by sawing off the stub just past the “branch collar,” or the ridge of bark formed around the base of the branch where it meets the trunk or branch crotch.
More Related Articles:
- Tree Topping: Why It’s Bad for Your Trees and What You Can Do Instead
- How Do You Cut Down a Tree? Axed and Answered
- How Much Does It Cost to Trim or Remove a Tree?
- What Is Mulch and What Is It Used For?
- How Much Does a Sprinkler System Cost?
Step-by-Step Tree Pruning Guide
Step 1: Remove Dead, Diseased and Damaged Branches
Although dead and damaged branches are fairly easy to identify, diseased branches can be a bit trickier to suss out. There are a variety of viral, bacterial and fungal diseases that can affect any given tree, and each has its own identifying characteristics. As a general rule, deformed or discolored leaves and branches are typical tell-tale signs. Sterilize your blade with isopropyl rubbing alcohol between cuts to prevent spreading the disease to other branches.
Step 2: Reduce and Remove Competing Leaders
A “leader” is the tree’s central trunk, and multiple leaders (also called “secondary,” “subordinate” or “competing” leaders) can weaken the overall tree. The largest upright trunk should be preserved as the main leader, with any smaller and crooked competing leaders removed. Ideally, this should be done while the tree is still young, since it may have a hard time recovering from the removal of a mature and established leader.
Step 3: Thin the Canopy
Thinning refers to removing branches inside the tree’s canopy to promote airflow and light penetration, while also removing weak or vulnerable branches. Remove the branches that are crossing one another and growing toward the trunk first, since these are at heightened risk of disease development and death. From there, prune back branches with narrow crotch angles — under about 35 degrees — since those are often the weakest. Finally, remove dense clusters of limbs until branches are evenly spaced throughout the canopy.
Step 4: Raise the Crown
Removing lower limbs (“crown raising”) should be considered if they interfere with pedestrian and automotive traffic or landscaping tasks such as mowing. Removing too many lower branches in one sitting can weaken the tree, so it’s best to raise the crown slowly over time. Keep in mind that most trees should only have 40% to 50% of their trunk exposed, so avoid removing limbs above the upper half of the trunk.
Step 5: Reduce the Crown
Pruning back the limbs at the top of the canopy (“crown reduction'') will reduce the tree’s height. A crown reduction is often performed if there are overhead power lines, or for aesthetic reasons.
Step 6: Balance the Canopy
Balancing a canopy refers to pruning the limbs around the entire periphery of the tree’s canopy until it has a relatively symmetrical shape. Doing so can reduce the strain on a trunk with lopsided branch development. It usually makes the tree more visually appealing. Balancing the canopy is often combined with raising or reducing the crown to give the entire canopy an even shape.
When performing any of these pruning techniques, avoid removing more than 30% of the overall canopy. Otherwise, you risk subjecting the tree to an excessive amount of stress.
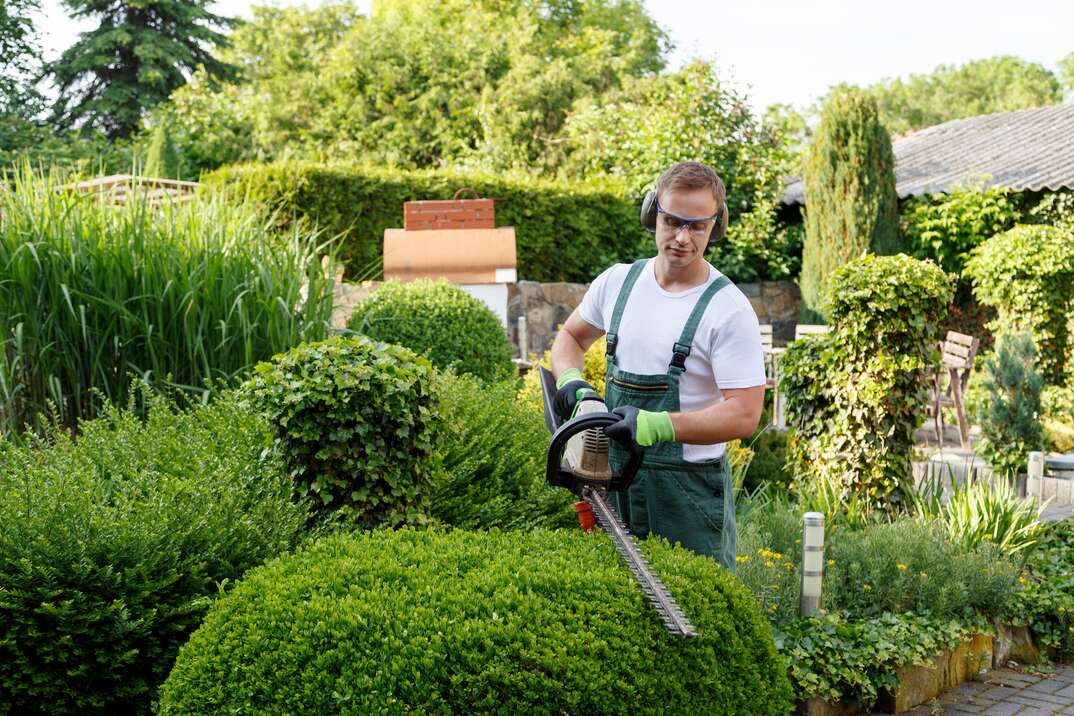 -------------------------------------------
Pruning Shrubs: Things You’ll Need
- Hand pruners
- Pruning loppers
- Hedge shears or hedge trimmer
When Should You Cut Back Shrubs?
As a general rule, shrubs should be pruned in late fall or early spring. Spring-flowering shrubs should be trimmed after their blooms have faded in summer. Perennials should be pruned all the way down — leaving only 1 to 2 inches of space above the ground — every fall or spring. Just like with trees, removing dead, damaged and diseased branches should be done as soon as they’re discovered throughout the year.
What’s the Proper Way to Prune Shrubs?
Step 1: Thinning
Remove inward growing, crossing and dense clusters of branches for greater airflow and light penetration.
Step 2: Shaping
Shape hedges with loppers, hedging shears or a hedge trimmer. Make the top of the hedge slightly thinner than the base to allow water and sunlight to reach the lower branches. For other shrubs, it’s best to shape them in a way that supports the natural shape and growth pattern of the specific shrub. As opposed to trimming hedges, it’s best to trim most shrubs using “selective pruning” (cutting individual branches) with a hand pruner. Make your cuts about 1/4 inch past a leaf bud at a 45-degree angle.
Step 3: Hard Pruning
For shrubs that are overgrown or formed a tangled and unmanageable mess of branches, pruning it back by a third will stimulate new and tidy growth. Much like when balancing a tree’s canopy, it’s best to evenly prune around the periphery of the shrub to give it a uniform, symmetrical shape.
Step 4: Rejuvenation Pruning
When a shrub is exceptionally overgrown, and cutting it back by a third isn’t enough, consider “rejuvenation pruning.” Rejuvenation pruning involves cutting the shrub all the way back until it’s only 6 to 12 inches off the ground, effectively hitting the “reset button” on the shrub’s growth pattern. Both hard pruning and rejuvenation pruning should only be attempted on mature, established shrubs, and only once every few years.
Step 5: Deadheading
“Deadhead” flowering shrubs by removing the flower buds that have faded and died. Deadheading encourages the formation of new flowers, and it can extend the shrub’s flowering season. You can deadhead buds by cutting them off with hand pruners or by pinching them off by hand.
