How to Install a Mailbox That Gets the Post Office's Stamp of Approval
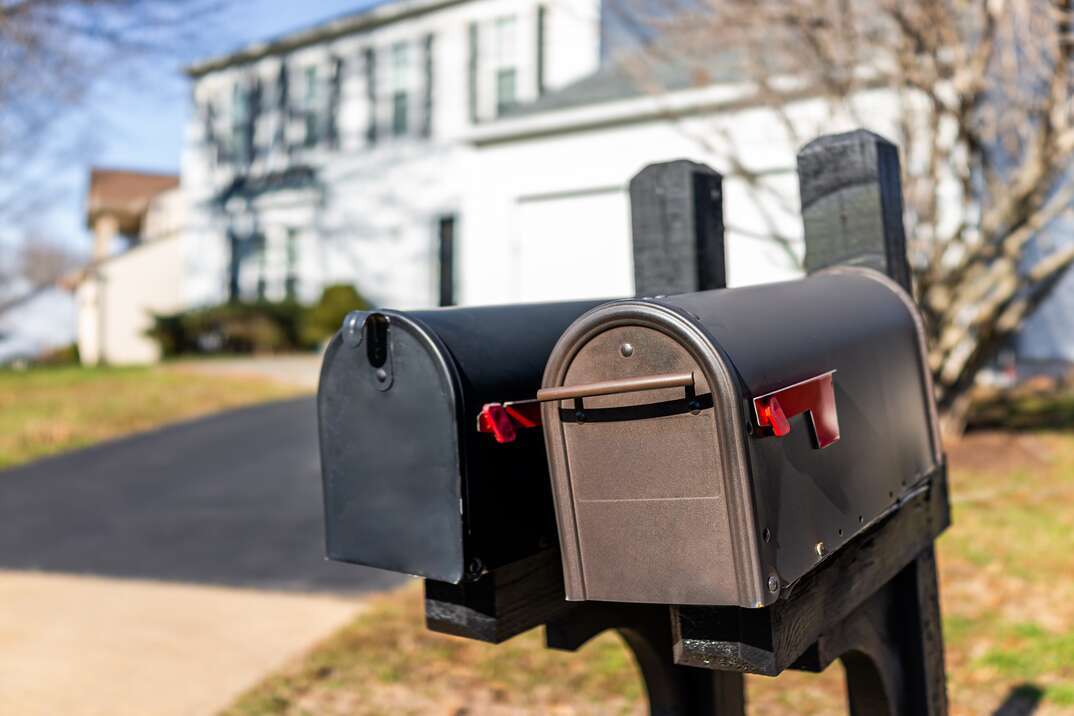
Time for a new mailbox? This is a job you can easily tackle on your own in an afternoon. But it’s not really the time to get creative with design or placement. Your mailbox must to adhere to strict federal guidelines — unless you want to get on your mail carrier’s bad side, that is.
This May Also Interest You: How Much Does It Cost to Build a Fence?
After making sure your mailbox’s size and construction meet the Postmaster General’s guidelines, all you’ll need is a few tools and materials for installation. Follow these steps to get started.
Mailbox Installation Guidelines
The Postmaster General has rules about mailboxes and mail slots to which the United States Postal Service will deliver. You may also have local homeowners association guidelines you’ll need to follow. Check with your HOA and your local postmaster, especially if you plan to build your mailbox. If you purchase a mailbox from a big box or hardware store, it should already meet USPS protocols. If you want to build your own, you’ll need to request drawings and measurements on the Postmaster General’s website.
Location
The height of your mailbox is very important. According to the USPS, there must be 41 to 45 inches from the road surface to the bottom of the mailbox. Your mailbox must be installed 6 to 8 inches back from the curb. If you don’t have a raised curb, get in touch with your local postmaster for more guidance.
Things You’ll Need
Next, you’ll need to decide what type of post you would like. For safety reasons, the post should be able to bend or break away if hit by a car. The Federal Highway Administration recommends either a 4-inch by 4-inch treated lumber post cut to the correct size or a 2-inch diameter standard steel or aluminum pipe.
Other supplies include brackets to attach the mailbox to the post, gravel and fast-setting concrete mix. You'll also need a shovel, bucket for mixing the concrete, screwdriver, level, the mailbox itself and the numbers and letters to put on it.
How to Install a Mailbox in 6 Steps
Now it's time to get your mailbox into the ground. Follow this guide:
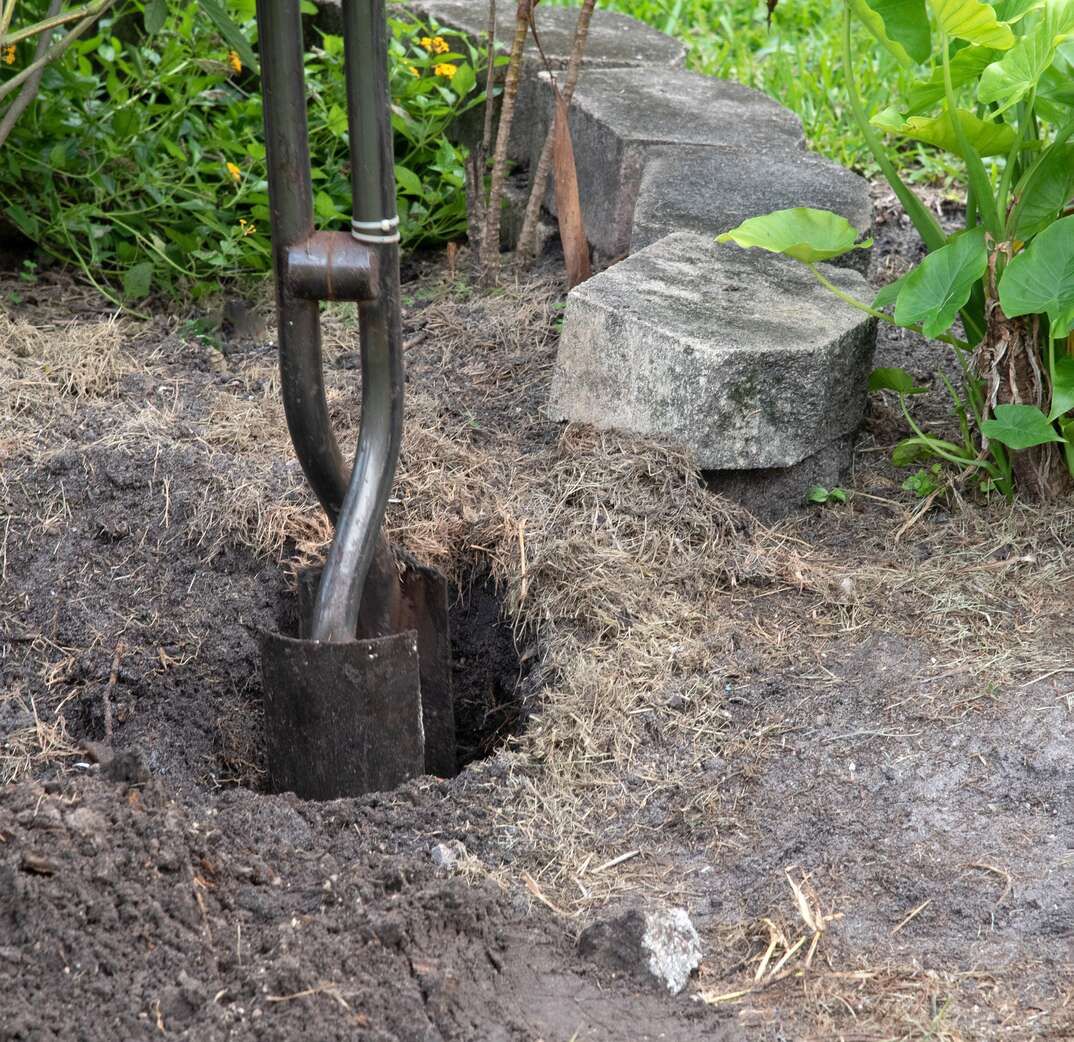
1. Dig It!
Dig a hole for the post deep enough for the post to sit at the correct height, plus an extra 6 inches for gravel. Your post shouldn’t be buried more than 24 inches deep.
2. Just Add Gravel
Dump in 6 inches of gravel. This is so water will drain properly.
3. Make Concrete Plans
Prepare your concrete according to the instructions on the package. Set your post into the ground and fill the hole with the concrete. When filling the hole, tamp the concrete to get rid of any air pockets. Use a level to ensure the post is vertically straight. If it doesn't seem like your post will remain level while the concrete dries, you can steady it by attaching temporary braces. Drill pine 1x2s into the post and rest them on the ground around the hole.
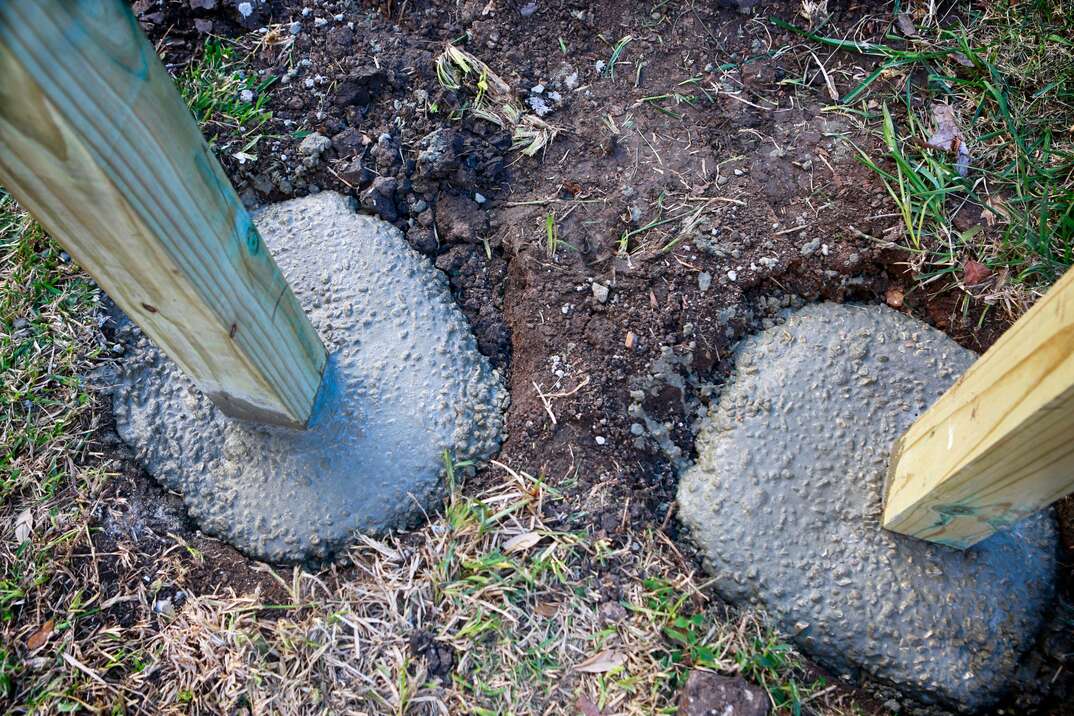
4. Raise It for Rain Runoff
Make a small mound of concrete around the post to allow for rainwater to slide away. Alternatively, if you prefer to hide the concrete, don’t fill the hole completely. Leave a few inches at the top, and after the concrete has set, you can cover it with soil.
5. Rock the Box
Once the concrete is dry, you can attach your mailbox to the post. If you bought the mailbox, all necessary hardware should be included. The mailbox should attach directly on top of your post.
6. Put a Number on It
Before attaching, add your house number to the mailbox, and name, if desired. The letters and numbers should be at least 1 inch high. If your mailbox is on a different street than your address, you should also add the street name.
And there you have it! The newly installed mailbox is ready for your next delivery.
Worried about expensive, unexpected home repairs? A plan from HomeServe can give you peace of mind. When you have a plan in place, you can simply call our 24/7 repair hotline when a covered issue arises. See what plans are available in your neighborhood.

