How to Install a Prehung Door

Installing a Prehung Door at a Glance
- Step 1: Remove old door
- Step 2: Insert New door
- Step 3: Place shims
- Step 4: Nail door frame
- Step 5: Attach trim and hardware
New doors can transform your home's interior and exterior appearance. When choosing which new door to buy, you'll need to decide whether you want a prehung or slab door. Many homeowners opt for a prehung door because it saves them the time, expense and inconvenience of building a new doorframe.
This May Also Interest You: How to Install or Replace a Doorframe: An Open-and-Shut Guide
Installing a prehung door is generally easier than installing a slab door, but it can still be a tricky job. Below, you can find easy-to-follow instructions for how to install a prehung door.
What’s a Prehung Door?
A prehung door comes attached to a frame with hinges and holes for the doorknob or handle already cut. They're an ideal option if the existing frame is damaged or sagging.
While prehung doors are generally more expensive than slab doors, they're also quicker and easier to install and have the advantage of a precut strike plate. They're also a good choice for replacing an exterior door as you won't need to weatherproof the door after installing it.
However, it's relatively easy to damage a prehung door during transit or when lifting it into position. Therefore, it's important to handle the door carefully and enlist a helper to avoid knocking or dropping it during installation. If you're uncertain about how to install a prehung door, consider hiring a professional contractor to do the work.
How Do You Measure for a Prehung Door?
It's essential that you purchase the correct door size. Fortunately, this is relatively straightforward and only takes a few minutes.
Using a tape measure, measure and record the horizontal distance between the side jambs. Next, measure and write down the distance between the top jamb and the floor. Take away 0.75 inches of this measurement to allow space for flooring materials. Finally, measure the depth of the existing door and purchase a prehung door with matching measurements. Check the product description carefully to ensure that the new door swings in your preferred direction.
Installing a Prehung Door: A Step-by-Step Guide
Now that you’ve purchased your new door, you’re ready to install it. Here’s what to do:
Step 1: Remove the Old Door
Assuming you're replacing an old door with your new prehung door, you'll need to remove it first. Start by unscrewing the hinges and prying them off with a claw hammer. You can then remove the door and take it for disposal.
Once you've removed the door, take off the hinge and strike plates and use a pry bar to pull off the trim. Work slowly and carefully to prevent damage to the surrounding wall. You can keep the trim and reinstall it around the new door if it's in good condition. Finally, remove the door jambs by pushing them away from the studs and then prying them off. If the drywall around the door opening is damaged, now’s the time to repair it.

Step 2: Insert the New Door
Carefully slide the new prehung door into the doorway until the jamb sits neatly against the wall. It's generally a good idea to enlist a helper for this step as the door may be too heavy to lift alone without injuring yourself. Check that the door fits correctly in the doorway and that you're happy with its opening direction.
Step 3: Place the Shims
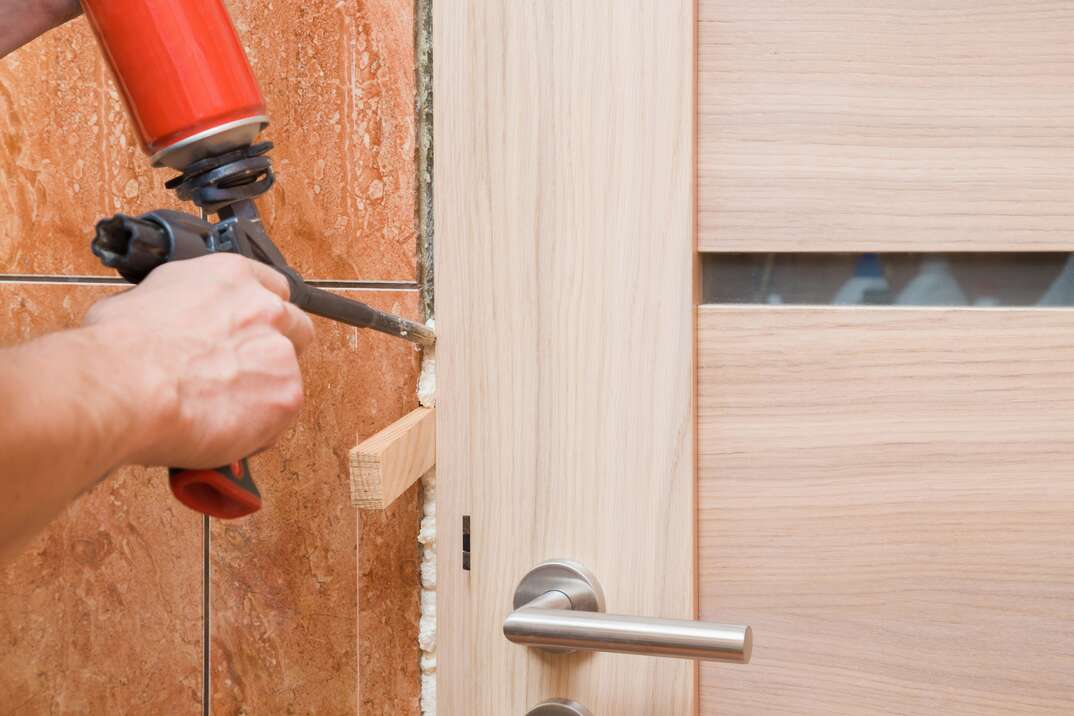
Next, you'll need to place door shims to ensure that the door is plumb. Shims are tapered pieces of wood that hold the door level.
Start by ensuring that the head jamb is level by sliding shims beneath the side jamb. Next, place shims so that the middle of the shim is in line with the hinge. Mirror the shims on the other side and place one next to the latch. Use a spirit level to ensure that the door is level before installing it.

Step 4: Nail the Door Frame
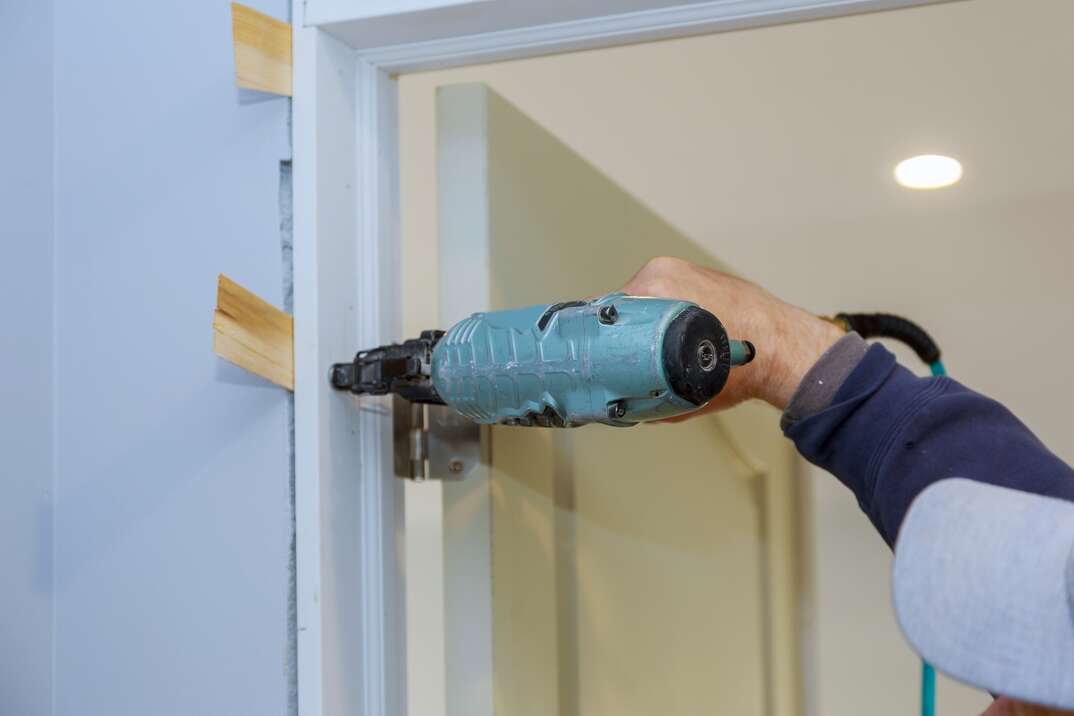
Using a nail gun, place two 8-inch nails roughly 1/2 inch apart through the shims to attach the frame to the studs. Each should sit about an inch from the jamb's edge. Check that the door opens and shuts correctly before hammering the nails in, or it won't be easy to make adjustments.
Step 5: Attach the Trim and Hardware
Nail the new or retained trim to the studs at regular intervals using 6-inch nails. You'll be left with protruding pieces of shim. Cut them down by scoring them, snapping them and sanding any rough edges.
Finally, you can attach a doorknob or handle and screw in the lockset, backplates and strike plate. Most prehung doors don't come with a handle, so you'll need to buy one from a DIY store.
More Related Articles:
- Got a Sagging or Sticking Door? Here Are 8 Fixes to Try
- The Frame Game: Here’s How Much It Costs to Install or Replace a Door Frame
- Holey Door Damage: How to Repair a Hole in Your Door
- How Much Does It Cost to Install Doors?
- How to Remove a Doorknob: A Quick Guide
How Long Does It Take to Install a Prehung Door?
Most professional contractors can install a prehung door in around an hour. However, it takes skill and experience to install a prehung door this quickly. If you're installing the door yourself, expect the job to take significantly longer and allow time to paint the door and repair any damage to the door opening if necessary. You can speed the task up somewhat by getting someone to help you install the door.


