How to Fix a Radiator Leak in 4 Steps
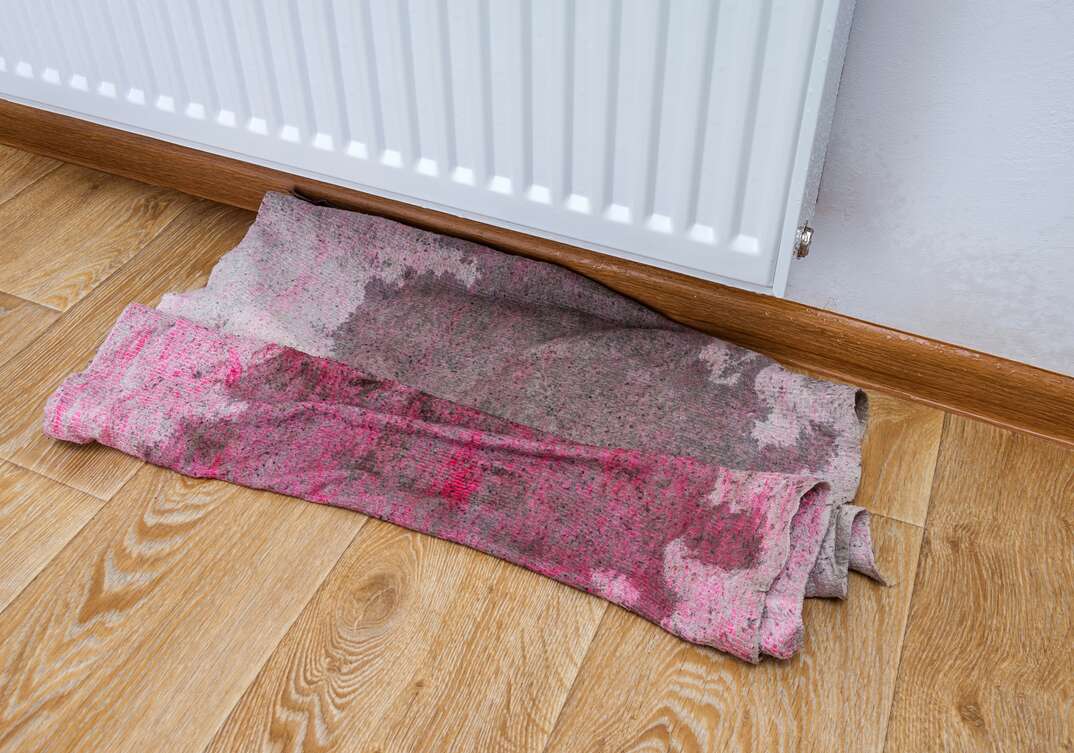
Over time, sludge and other debris can build up in your radiator, leading to corrosion and tiny holes, and ultimately causing messy, potentially damaging leaks. These leaks can result in a multitude of household problems, including inefficient heating, damaged furniture and flooring, and slip hazards. If you’ve noticed water puddling on or around your radiator and are ready to do something about it, read on as we guide you through how to fix a radiator leak in a conventional system.
This May Also Interest You: Why Does My Heating System Clang?
Radiator leaks can be daunting, but many can be fixed with minimal effort by following these four simple steps:
1. Prepare the Area
Whenever you're beginning a home maintenance project, it’s a good idea to anticipate and prepare for potential issues. Before you begin any repair work on a leaking radiator, prep the area around it by placing towels or other absorbent material on the floor. Keep a bucket nearby, so you’re ready to catch any water that may start to flow as you work.
2. Find the Source
Small holes can be difficult to pinpoint; drying off the radiator completely can help you locate the origin of the leak. After drying the exterior of the unit with a towel, use toilet tissue to systematically check the suspected source of the leak. Pay particular attention to places where valves and pipes meet. An inspection mirror, which you can find at many hardware or home improvement stores, lets you see around corners and in hard-to-view spaces.
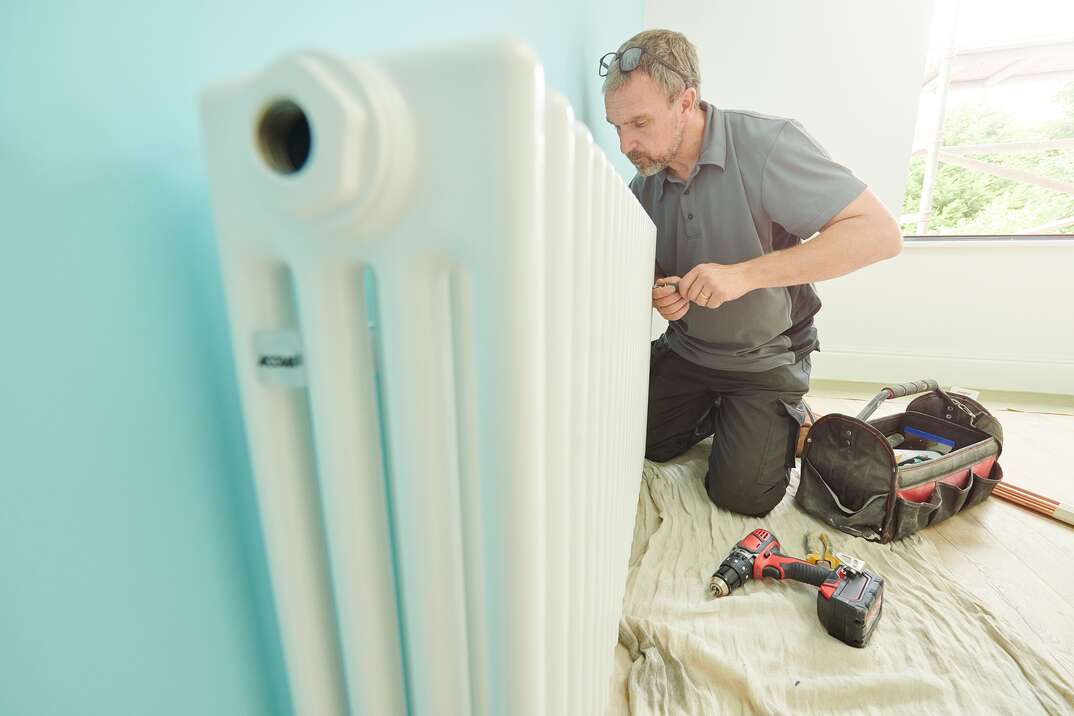
3. Determine Whether You Need a Pro
Even a savvy do-it-yourselfer can't handle every repair, so it's important to be able to assess whether to attempt the job yourself or hire a pro. The complexity of any radiator repair depends on the size and location of the hole. Larger leaks and those that require valve repair may necessitate service by a licensed plumber or replacement of the entire radiator, while pinhole leaks and leaks occurring at the juncture of a valve and pipe can often be repaired by an experienced DIYer.
The type of radiator you have may also dictate whether to call in a professional. Because hot-water radiators are under less pressure, they're typically simpler and safer to fix than their steam-based counterparts.
4. Fix the Leak
Radiator leaks typically originate in one of three places:
- The body of the unit
- The radiator’s fill pipe
- The valve, bleed point or tail
How to fix a radiator leak depends largely on where the water is escaping from. Once you’ve located the leak, begin the relevant radiator leak fix for the relevant component. Here are the common sources of leaks:
Leaking Valves
Valves often leak when the spindle packing within it starts to wear down, and it typically happens when the valve is in the mid-open position. Although it’s often best to call in a pro to handle a leaking radiator valve, you can stop the leak temporarily while waiting for a permanent solution by shutting off the valve using an adjustable spanner wrench.
Leaks at the Juncture of a Valve and Pipe
If the leak originates from the juncture of a valve and pipe, fixing it may be as simple as tightening loose bolts. This can be accomplished using an adjustable spanner wrench, and may require the addition of thread-seal tape.
Spindle and Radiator Gland Leaks
Sometimes leaks are caused by damaged spindles, which form part of the connection between the radiator and its pipework. This is typically a simple repair that can be done yourself. Using an adjustable spanner wrench, tighten the gland nut. This likely will cause the leak to subside. If the leak persists, undo the nut completely and wind thread-seal tape into the spindle. You can use a small, flathead screwdriver to push it down into the valve.
You may also need to replace the olive (the inner compression ring) within the coupling. Before doing so, it’s important to drain the water from your heating system. After you’ve removed and replaced the olive, be sure to coat it with silicone sealant or wind thread-seal tape around it before you reconnect it.
Once you’ve finished, tighten the gland nut again and replace the plastic cap. If this fails, the valve may need to be replaced and may necessitate a call to a professional plumber.
Radiator Body Leaks
Radiator body leaks are typically caused by corrosion and usually require a complete replacement of the unit. As a temporary fix, you can sometimes seal the leak by adding a plastic resin sealant to the feed and expansion tank. However, this shouldn’t be attempted if you have a sealed central heating system.
More Related Articles:
- How to Bleed a Radiator
- Everything to Know About Boilers
- DIY Home Heating Checkup
- How to Heat Your Home Efficiently
- Heating With a Fireplace: Most Common Questions
Keep Up Routine Maintenance
If your heating system includes a radiator, it’s a good idea to inspect it regularly for any buildup that can clog your system and keep it from running properly, leading to costly repairs. Hot-water radiators should also be bled each year when you're winterizing your house to remove trapped air from the system. This simple maintenance task can mean the difference between a radiator that functions efficiently and one that doesn't.
Even with regular maintenance, your heating system can malfunction, and if it’s making loud noises or not generating enough heat, it may be time to call a professional. Purchasing a heating system repair plan from HomeServe is one way to protect your family when emergency breakdowns occur. HomeServe’s 24/7 hotline can connect you with a reliable local professional who can get the job done right.
