How to Fix Drywall Cracks on the Wall or Ceiling

Fixing Drywall Cracks at a Glance
Tools & Materials: Taping knives, drywall tape, joint compound, sandpaper, rag, painter’s tape
Small Cracks
- Patch with spackling compound
Large Cracks
- Step 1: Remove loose material
- Step 2: Embed drywall tape
- Step 3: Spread mud
- Step 4: Sand and paint
Drywall is an incredibly hardy substance, but it’s not invincible. Along with holes, cracks are one of the most common — and unsightly — drywall repairs people make. Fortunately, repairing drywall cracks is a simple DIY project, and a much cheaper alternative to replacing the entire panel of cracked drywall.
This May Also Interest You: How to Fix a Large Hole in Your Drywall
Learn how to fix drywall cracks yourself, and discover how certain cracks can indicate structural damage in your home.
Can Cracked Drywall Be Repaired?
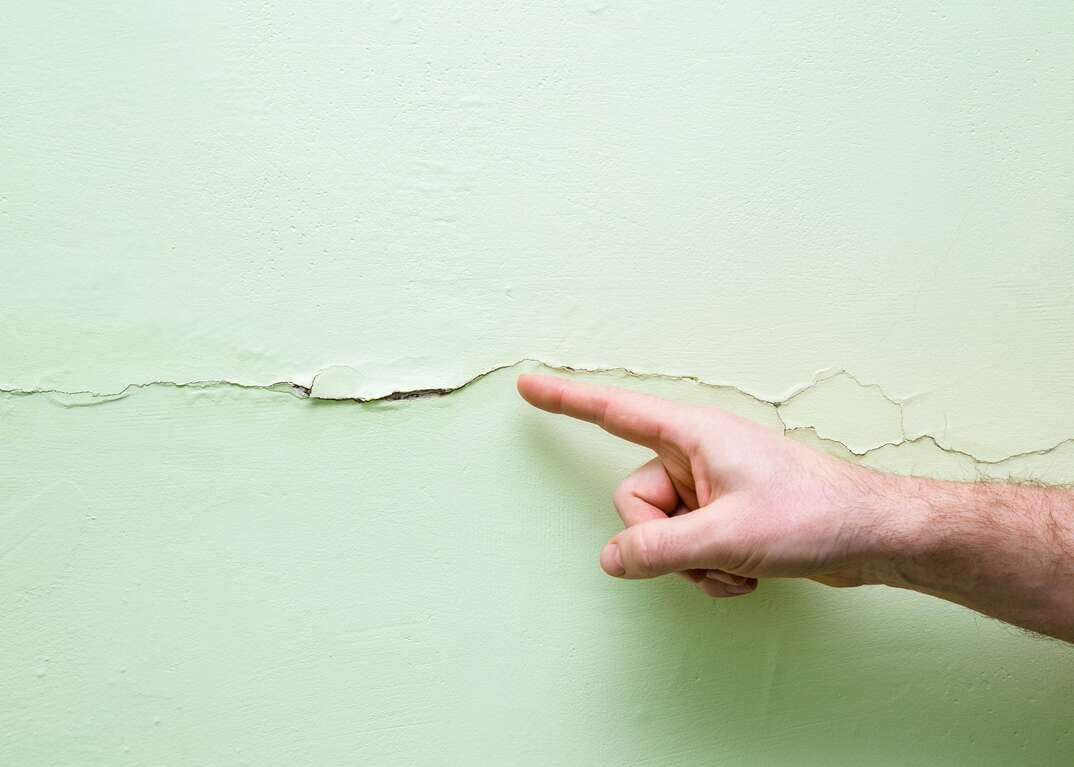
Drywall cracks that are less than a 1/8 inch wide (“hairline cracks”) can often be repaired with spackling, drywall joint compound (drywall mud) or drywall tape. Most often, these hairline cracks are merely cosmetic, the natural consequence of seasonal temperature and humidity fluctuations, house settling after new construction and poor taping and mudding practices when the drywall was first installed.
However, cracks wider than 1/4 inch can indicate a more serious, structural issue that needs to be addressed before any drywall is repaired.
How Can You Tell Whether a Crack Is Structural?
Certain drywall cracks can result from structural damage to your home, like deteriorating framing members and foundation settlement. Common symptoms of these include:
- Cracks wider than 1/4 inch
- Cracks that transitions from the ceiling to a wall
- Large, diagonal cracks that originate at the corners of doors and windows
- Long, jagged and diagonal cracks
- Cracking and separation between the wall and ceiling
- Cracks that come back after they’ve already been repaired
If you suspect that your drywall cracks are from a structural issue, hire a professional to perform an inspection before performing any drywall repairs.
How to Fix Cracks in Drywall
Unless your drywall cracks are from a structural issue, use the following steps to repair small and large cracks in your walls and ceiling.
Tools and Materials
- 4- to 6-inch drywall taping knife
- 10- to 12-inch drywall taping knife
- Drywall tape — paper or fiberglass
- Pre-mixed joint compound
- 100- to 120-grit sandpaper
- Cloth or rag
- Painter’s tape (optional)
Small Cracks
Hairline cracks under 1/2 inch long can often be patched with a thin layer of drywall spackling compound. Use a small putty knife to spread the compound evenly over the crack until it’s flush with the surrounding wall. Once the spackle has completely dried, it can be sanded with 100- to 120 grit sandpaper and painted the color of the surrounding wall.
Large Cracks
Cracks larger than 1/2 inch in length require a bit more effort and some different supplies. Specifically, you need to cover the crack with drywall tape before spreading a layer of drywall mud over the tape. The drywall tape provides structural reinforcement for the drywall compound, which prevents the cracks from reemerging (also called “telegraphing through”) a few months after the repair has been made.
Step 1: Prep Work
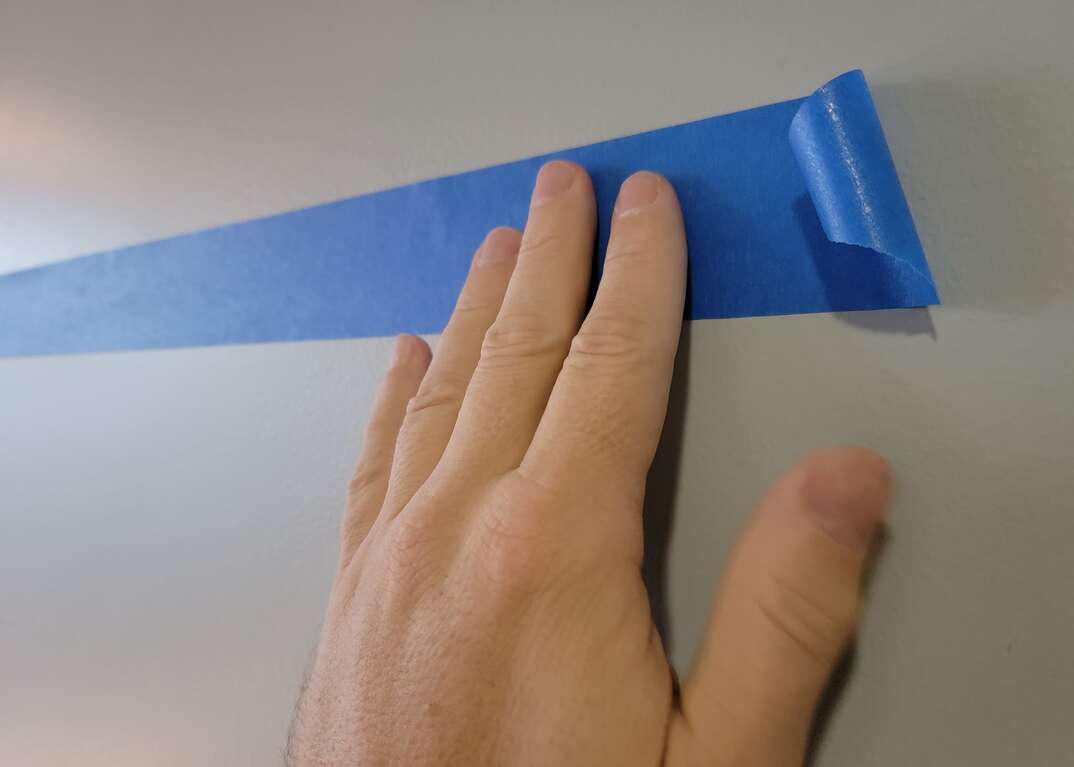
If the crack is near a door or window, consider protecting the trim material with painter’s tape. Remove loose drywall material surrounding the crack by cutting a 1/4- to 1/8-inch deep, V-shaped groove into the length of the crack. If the crack is on a seam where a piece of tape is already present, use your utility knife to cut out the damaged section of tape. Clean off any residual dust or debris with a rag.
Step 2: Embed Drywall Tape
If your drywall tape has an adhesive backing, you can apply it directly over the top of the crack. Otherwise, use a 4- to 6-inch taping knife to spread a thin layer of drywall mud over the crack. Set the drywall tape over the crack and squeeze out trapped air bubbles underneath the tape with the knife’s blade. Spread a thin layer of drywall mud over the top of the tape, with mud extending a couple of inches past either end of the tape.
Step 3: Spread More Mud
Use a 12-inch taping knife to spread a second layer of drywall mud over the tape, extending 5 to 7 inches past either side of the tape. Use long strokes to spread the mud evenly over the wall. Allow the mud to dry.
If the tape is still visible through this second layer of mud, you can repeat the process to apply a third layer.
Step 4: Sand & Paint
Sand the drywall with 100- to 120-grit sandpaper until it’s smooth and flush with the rest of the wall — being careful not to sand into the underlying tape. Remove residual dust with a rag, and paint the patched area to match the surrounding wall.


