Build-A-Bar Workshop: How to Install a DIY Dry Bar
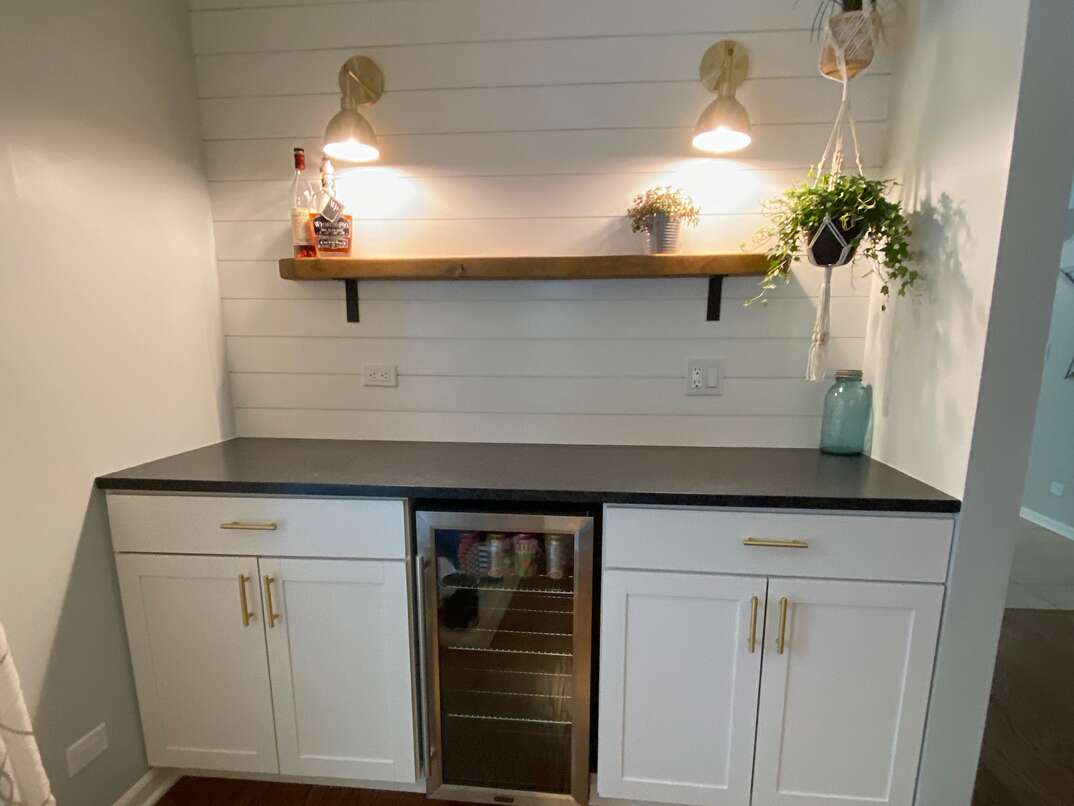
Installing a Dry Bar at a Glance
- Tools and Materials: Saw, drill, level, stud finder, sander, nails, paint and brushes, cabinets, countertop, caulk
- Step 1: Build or buy cabinets
- Step 2: Prep and paint cabinets
- Step 3: Install cabinets
- Step 4: Install bar top
- Step 5: Install upper cabinets, shelves and other features
A dry bar is “dry” in the sense that it doesn’t have a sink or plumbing; it has nothing to do with whether your bar has liquor. Whether your bar is actually dry is up to you.
This May Also Interest You: Outdoor Kitchen Inspo That Will Give You Major FOMO
Basically, a dry bar is a glorified liquor cabinet or bar cart, complete with built-in space to prepare your beverages. It can be an exciting addition to any home, especially if you enjoy entertaining. Adding a dry bar to your kitchen or basement can create space for guests to congregate and socialize.
This fun DIY project might seem like a big one, but almost anyone can install their own dry bar. Here are the step-by-step instructions.
What Do I Need to Build a Bar?
Before you can start building your dry bar, you’ll need to gather the proper materials and tools. You'll need:
- Circular saw
- Power drill
- Level
- Oscillating multi-tool
- Stud finder
- Sandpaper or sander
- Finish nails
- Painter's tape
- Foam roller or paintbrush
- Primer
- Base cabinets
- Upper cabinets (optional)
- Cabinet toe kick
- Countertop
- Caulk
How Much Does It Cost to Build a Dry Bar?
The cost of a built-in dry bar can vary drastically depending on a few factors. If you hire professionals to complete the bar construction, the price will increase significantly. According to Barplan.com, tackling dry bar installation on your own will cost at least $1,500.
What's the Difference Between a Dry Bar and a Wet Bar?
The technical difference between a dry bar and a wet bar is plumbing. A dry bar is a simple installation because it just involves a surface to prepare drinks and some storage. A wet bar with a sink gives you the opportunity to serve more complex drinks and rinse glasses without leaving the bar area. While convenient, wet bars are more challenging to install and generally require the help of a plumber.
DIY Dry Bar Ideas
If you don’t yet have a design in mind, draw inspiration from examples online. Make your dry bar unique with features like:
- Wine racks
- Custom bar stools
- Bamboo bar top
- Open base cabinets to display glassware
- An outdoor dry bar for entertaining in warm weather
No one likes warm drinks, so a key feature to consider for your dry bar is a mini-fridge. You might opt for a model with a freezer so you can keep ice on hand as well.
Installing a Dry Bar
Installing a dry bar can be a fairly simple process. Follow these steps to get started:
1. Buy or Build Your Cabinets
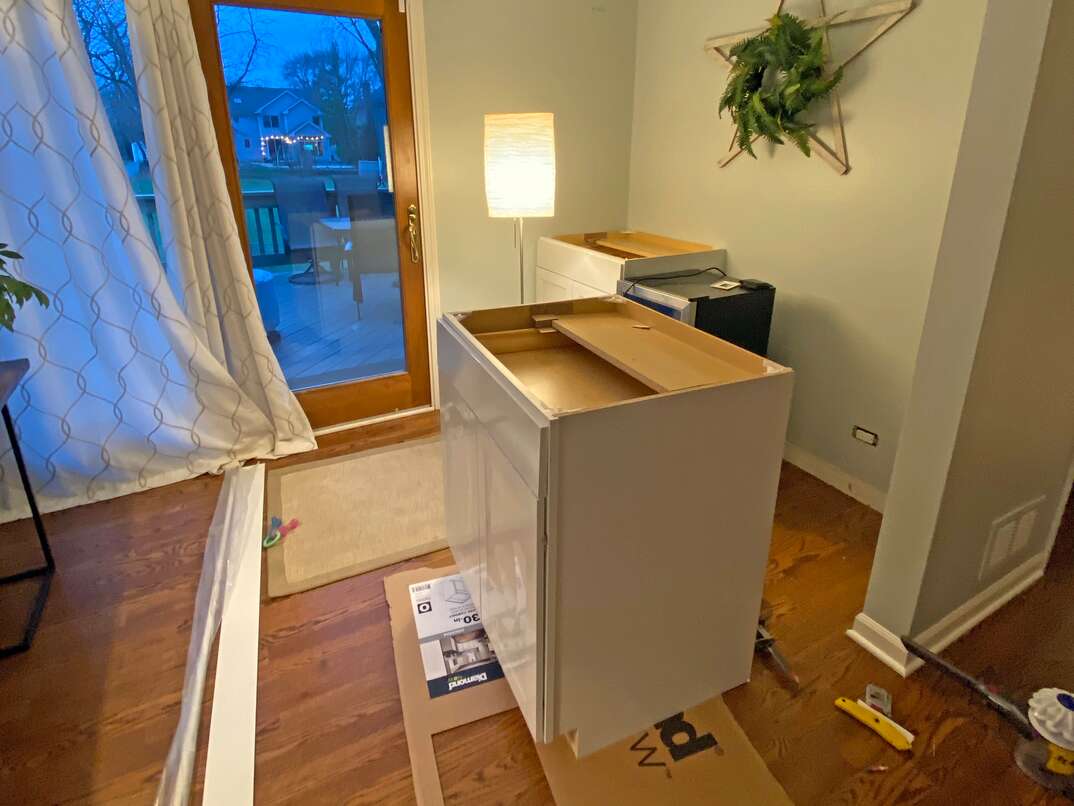
The first thing you'll want to do is decide if you're going to build the cabinets for your dry bar or purchase premade ones. There's no wrong choice here; it all comes down to your comfort level. Building your own may prove more affordable, but if you're not especially handy, you might want to select premade cabinetry to ensure you get the look you really want.
2. Prepare the Cabinets for Painting
To prepare the cabinetry for painting, begin by sanding the exterior. You can do this with sandpaper or with an orbital sander if you have one handy. If you've purchased brand-new cabinetry that is already finished, skip to Step 4.
Once the cabinets are sanded, wipe them down with a damp rag to remove excess dust and grit. Then, it's time to prime them using brushes or a foam roller. After the layer of primer has dried, sand it again so the surface is even and ready for painting.
3. Paint the Cabinets
When you begin painting, be patient and ensure you get into all the nooks and crevices. Let each layer of paint dry for several hours before applying the next coat. You will likely need to apply three coats to achieve the desired color.
4. Install the Cabinets
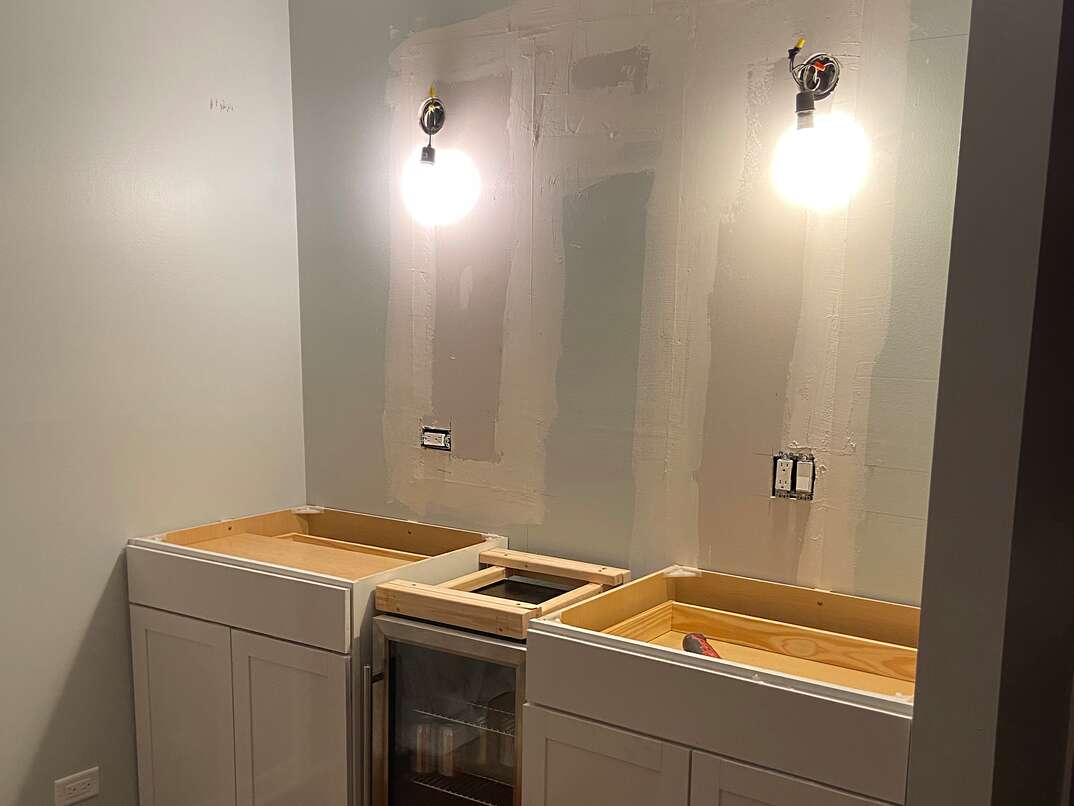
Once you have the cabinets painted, it's time to assemble and install them. Before the dry bar cabinets can be put in place, the area needs to be level. Because the walls and floor of the home are rarely 100% level, be prepared with some wooden shims to support the cabinets where necessary. Using a pencil, mark out the height the cabinets will sit on the wall. Then, use your stud finder to locate the studs to attach them to. Mark these locations as a reference point.
Measure the distance between studs on the wall. You can use the measurements to make a transfer line on the back of the cabinets, allowing you to pre-drill holes in the correct spots.
If the dry bar is a new addition to a finished room, cut it into the baseboards so your cabinetry can sit flush with the wall. To do this, you'll need your oscillating multi-tool. If you're starting from scratch, install the cabinetry before the baseboards and flooring go in.
Now, all you have to do is position the cabinets where you want them and secure them to the wall into the studs. Grab your drill and cabinet screws for this step. If your cabinets have toe kicks, nail them in after the cabinets are fixed to the wall.
More Related Articles:
- How Much Do Kitchen Cabinets Cost?
- How Much Does It Cost to Paint Kitchen Cabinets?
- 10 Must-Have Electrical Tools for DIY Projects
- How to Install Floating Shelves (It’s Not as Hard as It Looks)
- Best Ways to Upgrade Your Home for Under $150
5. Install the Bar Top
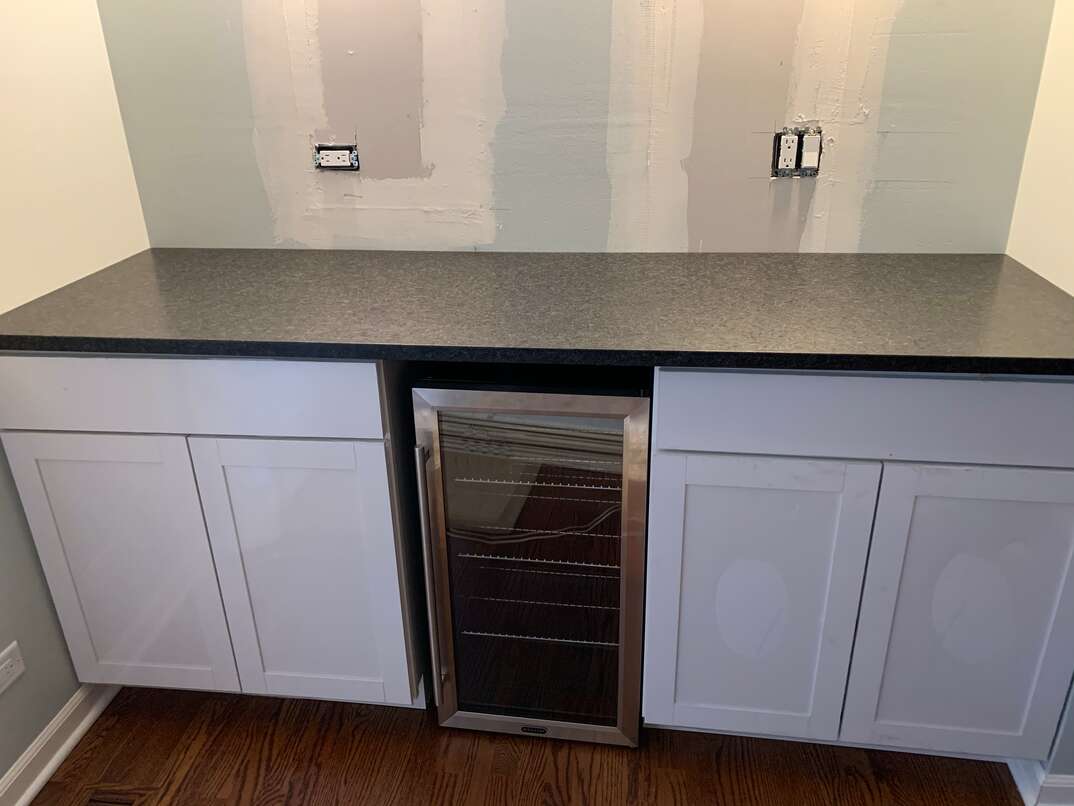
Once the cabinets are in, it's time to install the countertop. First, ensure your counter is the correct size. If the countertop is custom, this shouldn't be a problem. If you're fashioning your own countertop out of wood or MDF particleboard, you will need to measure it against the cabinets and use a circular saw to cut it down to size. Be sure to sand the edges for a clean finish.
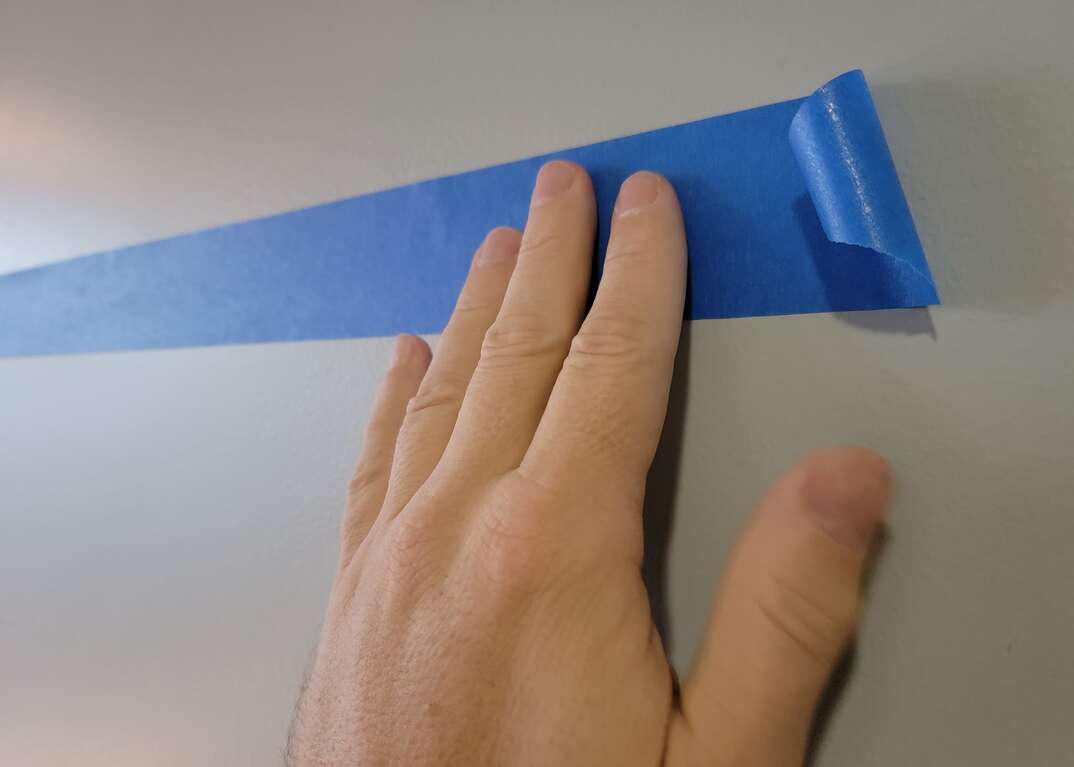
When it's ready, screw the counter into the cabinetry. To create a seamless transition from the edge of the counter to the wall, tape along the edge of the wall with painter's tape to protect it, then apply a neat line of clear caulk.
6. Add Upper Cabinets or Shelves
If you have upper cabinetry or floating shelves to install above your dry bar for extra storage, now is the time to do so. Use your stud finder to locate the studs you'll screw them into. Like with the lower cabinets, you can measure and mark the upper cabinets or shelves and pre-drill holes in the correct position to make the installation easier.
Grab another person and have them hold up the shelf or cabinet in the desired position. Use your level to ensure the cabinets will be straight and secure them in place.
You can also move your mini-fridge and other features into place at this time.
7. Enjoy
Now that you've put in the hard work, it's time to let loose and enjoy the final product. Have fun hosting your friends and family, learning new cocktail recipes and becoming the bartender of your own home.
Since we’re all home now more than ever, being prepared for unexpected home repairs with a plan from HomeServe is important. Having a plan in place gives you peace of mind knowing that you can simply call our 24/7 repair hotline for covered breakdowns. See what plans are available in your neighborhood.
