Coffee Taste Nasty? Here’s How to Clean Your Coffee Pot

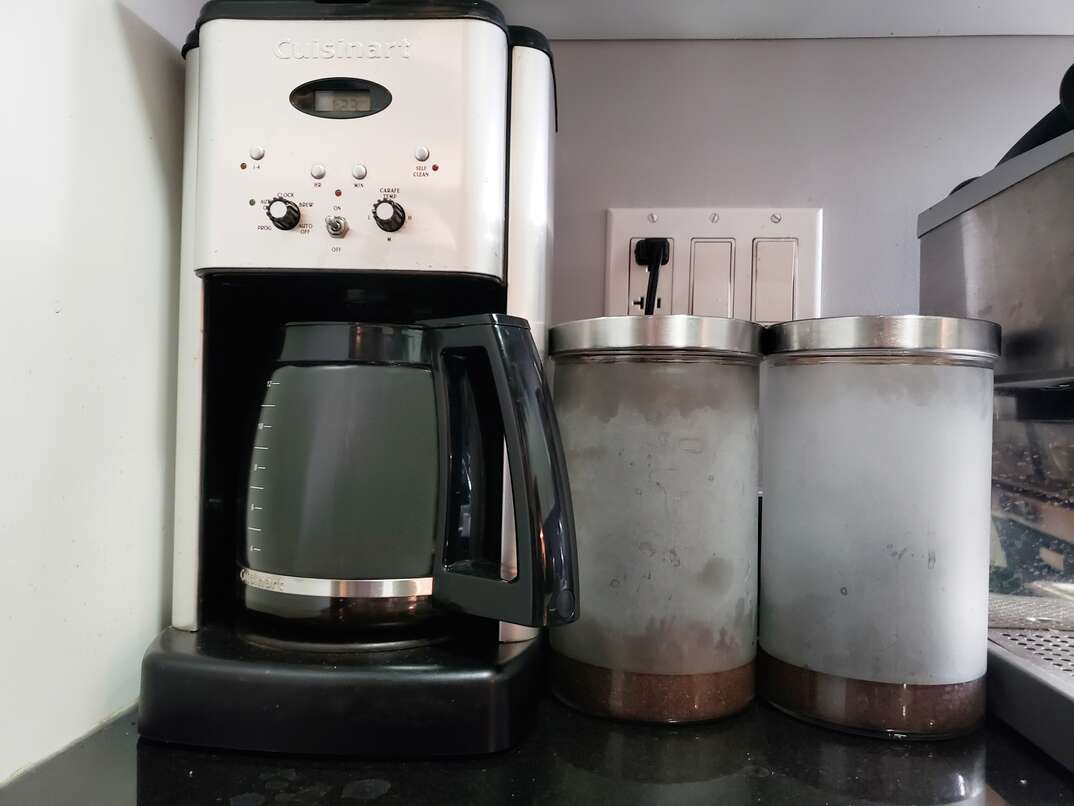
Wake up early on a Saturday morning eager for that first hot cup of coffee only to suddenly be hit with that telltale bitter taste that totally harshes your morning mellow? Bid the buildup causing the problem a prompt farewell with a quick and easy method for cleaning your coffee maker and carafe using just vinegar and water. Then you can get back to the proverbial “best part of wakin’ up.”
This May Also Interest You: How to Clean Your Keurig Coffee Maker in 6 Simple Steps
Read on to learn how to spot a coffee maker in need of cleaning and the simple four-step process for doing so.
Warning Signs
Your coffee maker might not be as clean as you think it is, but there are some warning signs that it needs a good cleaning. You may notice an oily sludge and mineral buildup has formed on your maker and pot, which can cause stains and gum up the brewing process. When your machine is gummed up, it can leave your coffee with a particularly bitter flavor.
One problem you won’t be able to see is the germs and bacteria building up on your machine, which can pose a bigger threat than a nasty-tasting cup o’ joe. A study conducted by the public health advocates at NSF International deemed your coffee maker the fifth germiest place in your home, with more than half the machines tested coming back positive for yeast and mold. These organisms can cause allergic reactions and even infections if you don’t properly clean them.
Cleaning Your Coffee Maker
The good news is that cleaning your coffee pot is easy and will have it looking (and tasting) like new in no time. To keep your coffee maker in top condition, you should clean the removable parts daily and do a deeper cleaning at least once a month.
Step 1: Gather Your Materials
Here’s what you’ll need to do the job right:
- White distilled vinegar
- Water
- Two coffee filters
Step 2: Mix Vinegar and Water
Fill the reservoir with a mixture of half white distilled vinegar and half water. You can increase or decrease the ratio of vinegar depending on how bad the buildup is in your brewer. The vinegar will not only sanitize the maker and your pot, but it also helps dissolve mineral deposits.
Step 3: Brew and Soak
Make sure you put a filter in the basket and then turn your brewer on. When it’s about halfway done with brewing, turn your coffee maker off and allow the remaining vinegar and water solution to soak in the carafe and reservoir for about 30 minutes. Depending on how much buildup you have, you may want to leave it for up to a full hour.
Step 4: Finish the Cycle and Rinse
After you’ve let the mixture sit for 30-60 minutes, you can turn your coffee maker back on and allow it to complete the brewing cycle. Toss out the paper filter you used and pour out the vinegar solution.
Now to get the vinegar scent and taste outta there. Fill the reservoir with fresh water and put a new filter in the basket. Turn the coffee maker on and let it complete another brewing cycle. When it’s done, remove the filter and pour the water out once again. Repeat this cycle until you no longer can smell the vinegar.
Once you have done this two to three times, wipe down your coffee maker and pot with a clean cloth.
Now your coffee maker and carafe should be clean and ready to use for your next pot. You should revisit this process at least once a month, but be sure you rinse your carafe out daily.
Since we’re all home now more than ever, being prepared for unexpected home repairs with a plan from HomeServe is important. Having a plan in place gives you the peace of mind knowing that you can simply call our 24/7 repair hotline for covered breakdowns. See what plans are available in your neighborhood.


