How to Replace a Showerhead
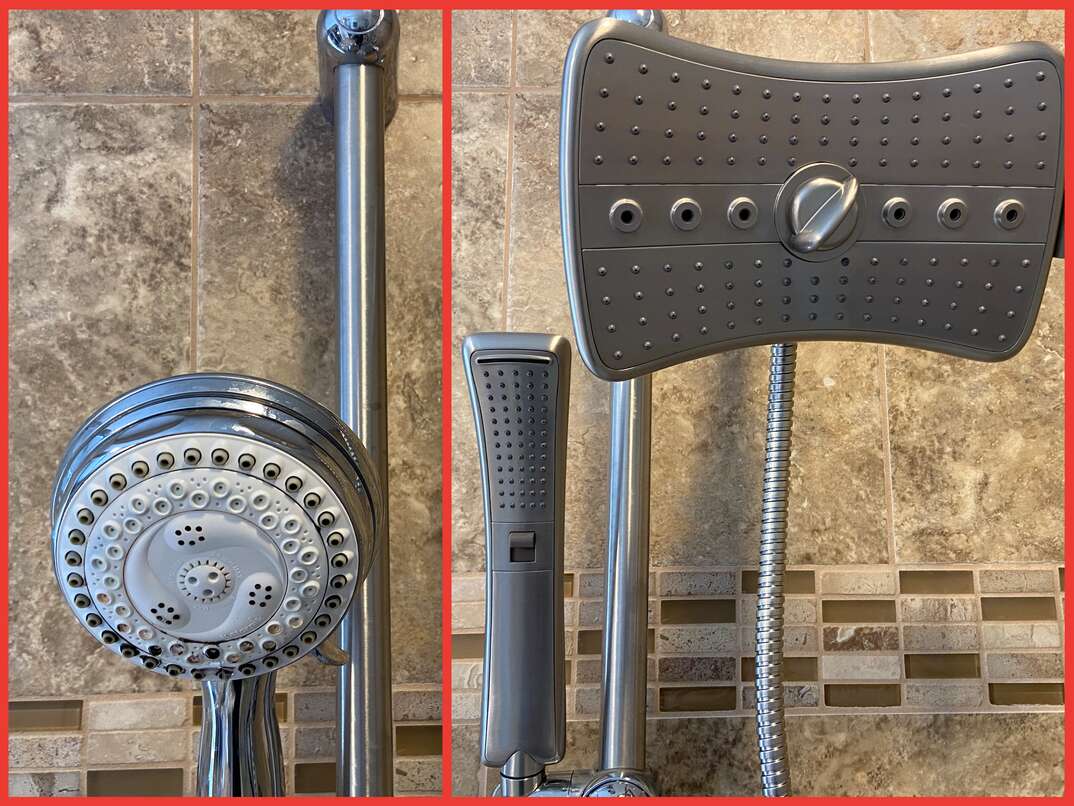
If you’re finding yourself standing in the shower each morning, staring bleary-eyed up at the showerhead and wishing for more out of life ... it may be time for a refresh. Perhaps it’s not putting out the water pressure you’d like or maybe it is just old and you want something newfangled and fancy — whatever the case, your morning shower can set the tone for the rest of your day, so you want things to start off right. Well, before you take one more unsatisfying shower, do something about it! After all, installing or replacing a showerhead is typically an easy do-it-yourself job.
This May Also Interest You: How to Clean a Showerhead
With this simple guide, you’ll be able to successfully swap out yours for one that has the look and feel you prefer.
Fixed showerheads usually come in wall-mounted or ceiling-mounted designs. Once the hole for the showerhead is drilled, the installation of both designs is very similar and you can use the same tools.
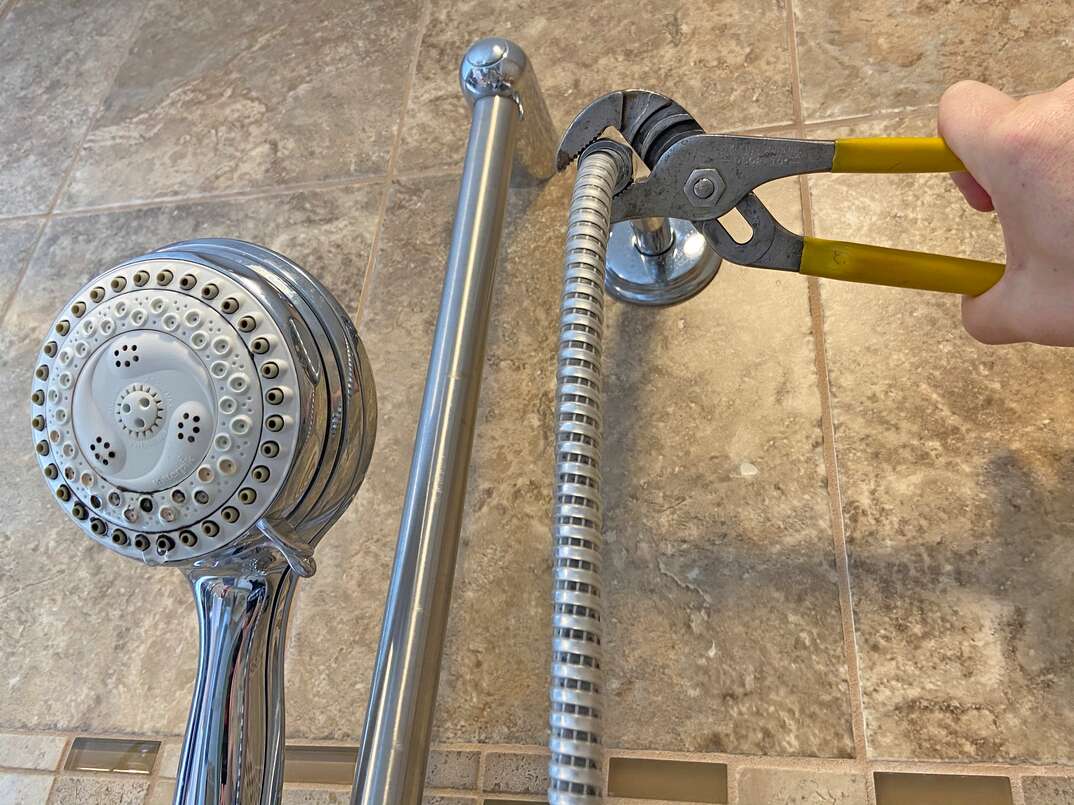
What You’ll Need
The basic tools you’ll need to get the job done right include:
- Groove-joint pliers
- An adjustable wrench
- Rags
- Your replacement showerhead
- Shower arm
- An old toothbrush
- Thread-sealing tape
Steps for Wall- and Arm-Mounted Installation
1. Turn Off the Water
Your shower may have a local cutoff, but it’s better to turn the water off at your home's main switch. Main water switches are normally located near your hot-water heater in your basement or garage.
2. Clean the Shower Arm
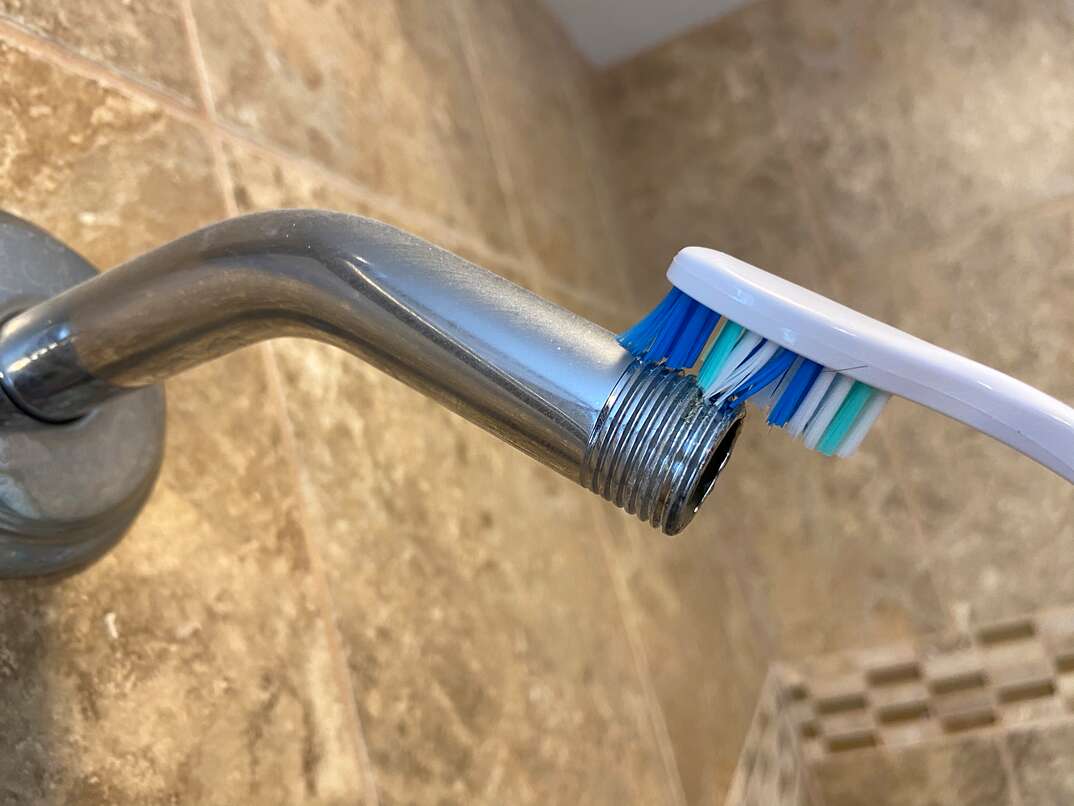
Use a toothbrush — one you can throw away as soon as you’re done — and clean the shower arm’s threads, making sure they’re free of debris and gunk.
3. Install the Shower Arm
Wrap the end of the shower arm in thread-sealing tape and screw it into the pipe opening in the wall or the ceiling, wherever your showerhead will be located.
4. Prep the Shower Arm
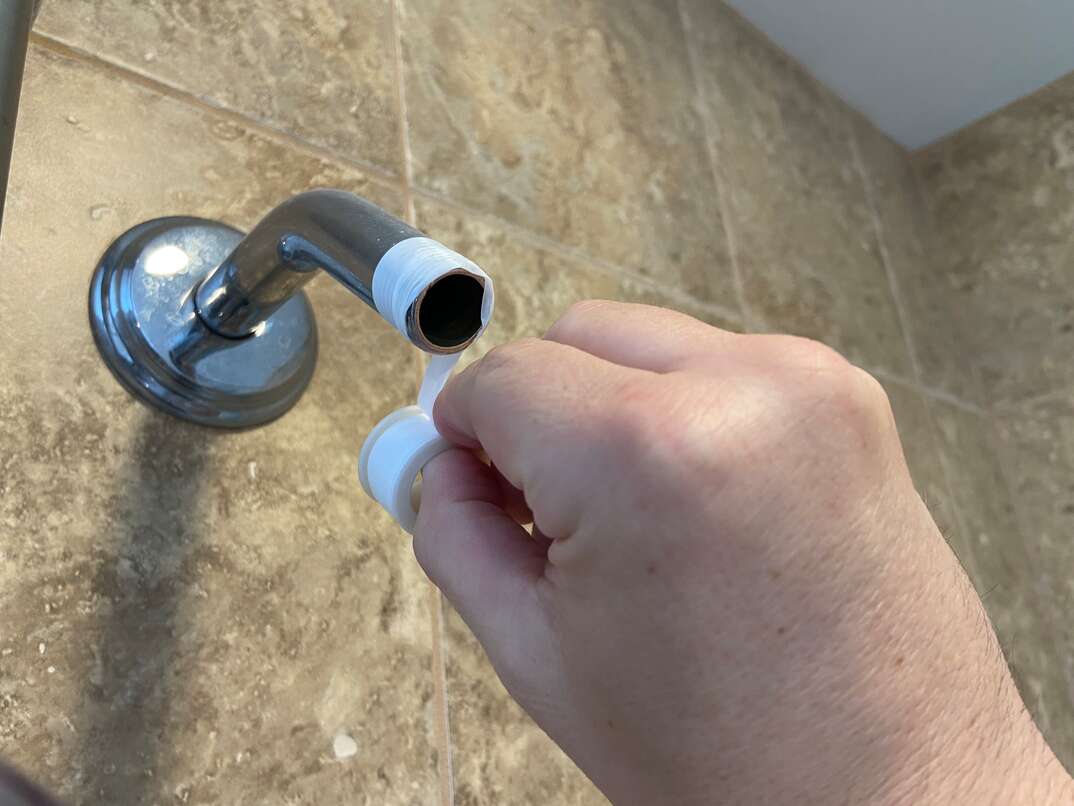
Slide the backing onto the shower arm and wrap the open end in thread-sealing tape. Always apply the tape in a clockwise motion so you don’t wind up unraveling it when attaching the showerhead.
5. Install Your Showerhead
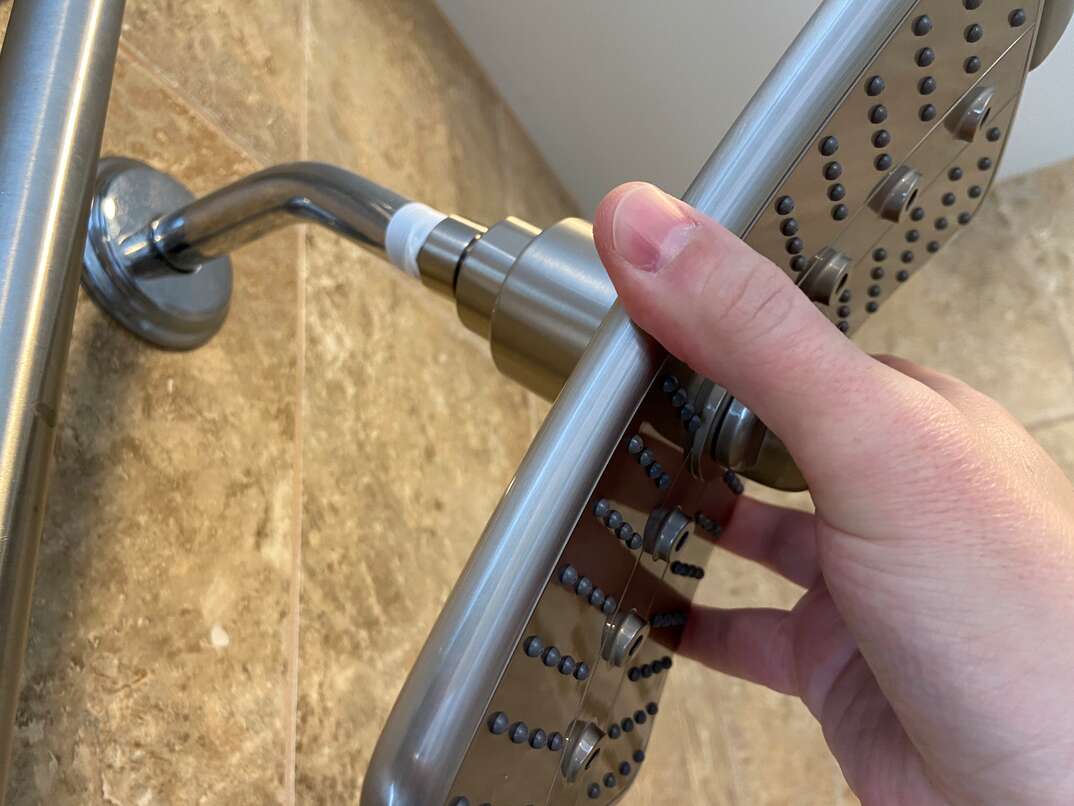
Screw the new showerhead on by hand until it’s snug. Wrap the arm and head in rags, and use the adjustable wrench to tighten the head even more.
Embedded Showerhead Installation
If you have a showerhead that’s embedded — meaning the showerhead is flush with the ceiling — it’s a good idea to hire a professional to handle the installation. This type of showerhead could require you to open the ceiling and re-route some pipes.
Fixed Wall Showerhead Installation
If you’re removing a ceiling-mounted head, it may require a ladder for you to reach it. If so, make sure you have someone available to hold the ladder steady.
What You'll Need
- Groove- joint pliers
- An adjustable wrench
- Rags
- Your replacement showerhead
- Thread-sealing tape
- A screwdriver
Remove the Old Showerhead
- Turn off your water. Make sure you turn your water off at the main switch. Again, this is normally located near the hot water heater in your garage or basement.
- Remove your showerhead. Place your groove-joint pliers on the shower arm and use your screwdriver to loosen the showerhead. Use rags to cover the head or arm if you plan on reusing them.
Replace the Showerhead
- Prep the shower arm. Slide the new backing onto the shower arm and make sure you wrap the open end in thread-sealing tape. Always apply your tape in a clockwise motion to avoid it unwrapping when you attach your new showerhead.
- Install the new showerhead. Screw on your new showerhead by hand until it’s snug. Wrap the shower arm and head with your rags and use the adjustable wrench to tighten the head down further.
More Related Articles:
- Let it flow: Improve Low Water Pressure in the Shower
- Hot Water Ran Out While You’re in the Shower? 5 Reasons You're Freezin’
- How to Unclog a Shower Drain
- What Is a Shower Diverter Valve (and Why Should You Care?)
- How to Clean Shower Doors
Should You Hire a Pro?
Most showerhead installations or replacements are fairly easy DIY tasks that nearly anyone can handle. But if you’re unsure about what you’re doing, or if you think something doesn’t seem quite right, it’s best to go ahead and call in a professional to help you with the job. Mistakes can lead to bigger problems — and mistakes involving water leaks are something no homeowner wants to deal with.
Common Reasons for Showerhead Replacement
Mineral Buildup
Mineral buildup can cause clogs and reduce the water pressure the head is putting out.
Age
Older showerheads can begin to rust and leak. Showerhead deterioration can also reduce water pressure and cause leaks.
Style
Older-style showerheads can clash with the current design especially if you’re considering a remodel.
Efficiency
Dated showerheads can also reduce efficiency in your bathroom. Replacing an older head with a new low-flow model can help reduce your water bill.
Can I Repair My Showerhead?
If you notice any leaks or lack of water pressure, it might be time for an update to your showerhead. While repairs are possible, it’s usually easier to just replace the whole showerhead with a new one. Many homeowners also prefer to upgrade embedded or handheld showerheads to something newer.
