How to Build a Patio: 9 Steps to a Backyard Paradise
Installing a Patio at a Glance
- Tools and materials: Plate compactor, hand tamper, gravel, level, shovel, paver sand, polymeric sand, edging material, rake, trowel, stakes, 2x4s, pipes, mallet, pavers
- Step 1: Outline the area
- Step 2: Excavate
- Step 3: Add gravel
- Step 4: Add paver sand
- Step 5: Lay pavers
- Step 6: Level pavers
- Step 7: Add paver edging
- Step 8: Spread polymeric sand
- Step 9: Spray with water
Building a backyard patio doesn’t have to be complicated. In fact, you can create a beautiful backyard space with just some materials you can purchase at a hardware or big-box store. Pavers are one of the best patio materials because they don’t require a lot of effort to install — as long as you’re not going for an elaborate design that would require cutting them.
This May Also Interest You: Bifold and Your Billfold: How Much Does It Cost to Install Bifold Patio Doors?
Installing a patio can be a great way to create a dedicated outdoor gathering space without going to all the trouble of building a structure like a deck or porch. If you’re undecided about how large to make your patio, it’s recommended to go with the larger of your two options. It’s more challenging to increase the size later down the road.
With the above in mind, here is everything you need to know to build a patio.
Tools and Materials
Here are the materials you’ll find useful for this project:
- Plate compactor
- Hand tamper
- Gravel
- Level
- Shovel
- Paver sand
- Polymeric sand
- Edging material
- Rake
- Finishing trowel
- Wooden stakes
- Two-by-fours
- Metal pipes
- Rubber mallet
- Pavers
How to Build a Patio
1. Outline the Area
Before you start, you’ll want to have a clear outline of the area. Visibly mark the area you plan to build the patio by putting wooden stakes in the ground and tying a string around them to form a square. The string should sit 3 inches above where your main base will be. Use a line level; start on one side and level each section until the whole square is level. Drop down one side 1/8- to 1/4-inch per foot to allow water to drain off the new pavement.
2. Excavate the Area
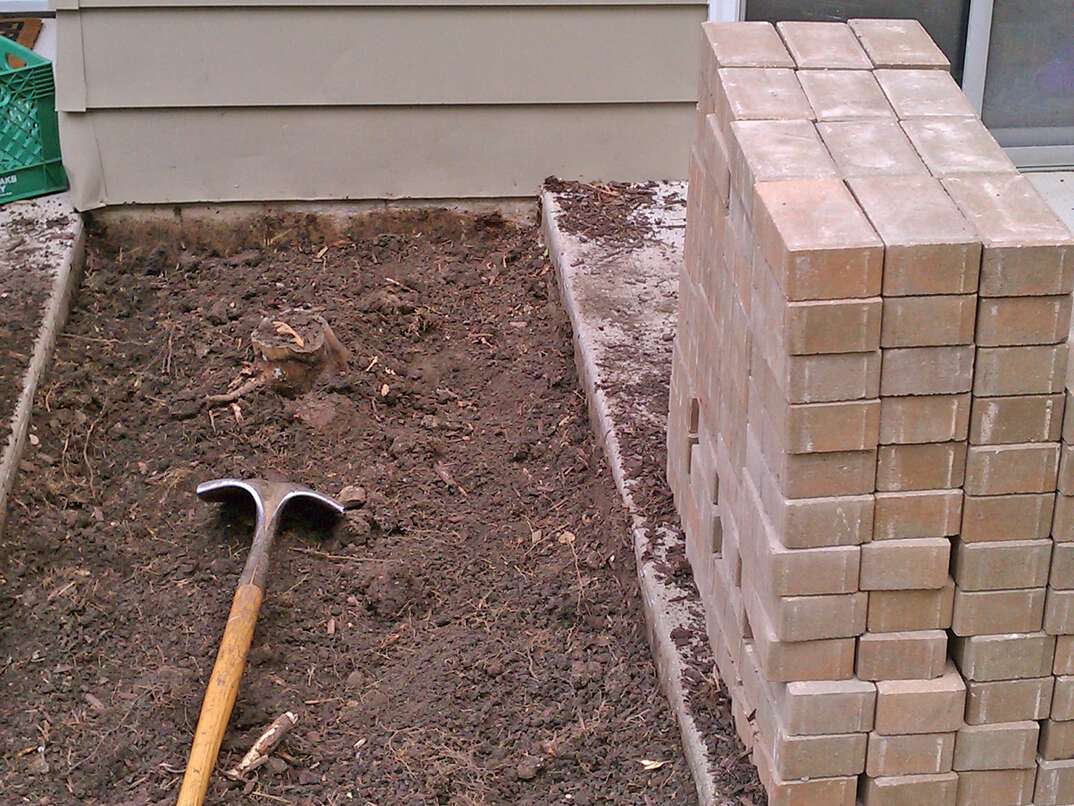
According to Joe Raboine, director of residential hardscapes at Belgard, follow this process to get the area ready: First, use a spade shovel to excavate about 6 inches past where you intend the patio to end. Next, dig down approximately 6 inches and remove all the soil and grass. Try to make the excavated area as flat as you can. Then, use a hand tamper and tamp down any remaining loose soil.
3. Add Gravel
Once the area has been excavated, add 3 inches of gravel and make it relatively flat. Tamp this gravel down and then use a plate compactor to create a steady gravel surface. Add three more inches of gravel and redo the process.
Once the main base of gravel has been set, use a metal gravel rake to ensure the gravel is approximately 3 inches lower than the string. Some additional gravel may need to be added or removed to reach this level. You’ll want to take your time with this step to ensure the overall plane is flat.
4. Add Paver Sand
Lay down two one-inch metal pipes parallel to each other. These pipes will help you level the sand correctly. Once you lay them down, add paver sand to the entire area until the pipes are covered.
Using a 2x4 wooden board, run the board down the pipes to smooth the sand out, as shown here. You need to check that the sand is smooth and there aren’t any small holes or uneven spaces. If you see any, simply add more sand and go over it again with the 2x4 until you get an evenly leveled space.
Doing this correctly is crucial to the overall aesthetic of the project. It will ensure your pavers are all at the same level when you lay them down. Once that’s done, remove the pipes, add sand where the pipes were and smooth it out with a finishing trowel.
More Related Articles:
- Electric Vs. Gas Heaters: Which Kind Is Best for Your Patio?
- Best Outdoor Ceiling Fans
- How to Build a Fire Pit
- How Much Does It Cost to Install a Hot Tub?
- How Much Does It Cost to Install a Patio?
5. Lay the Pavers
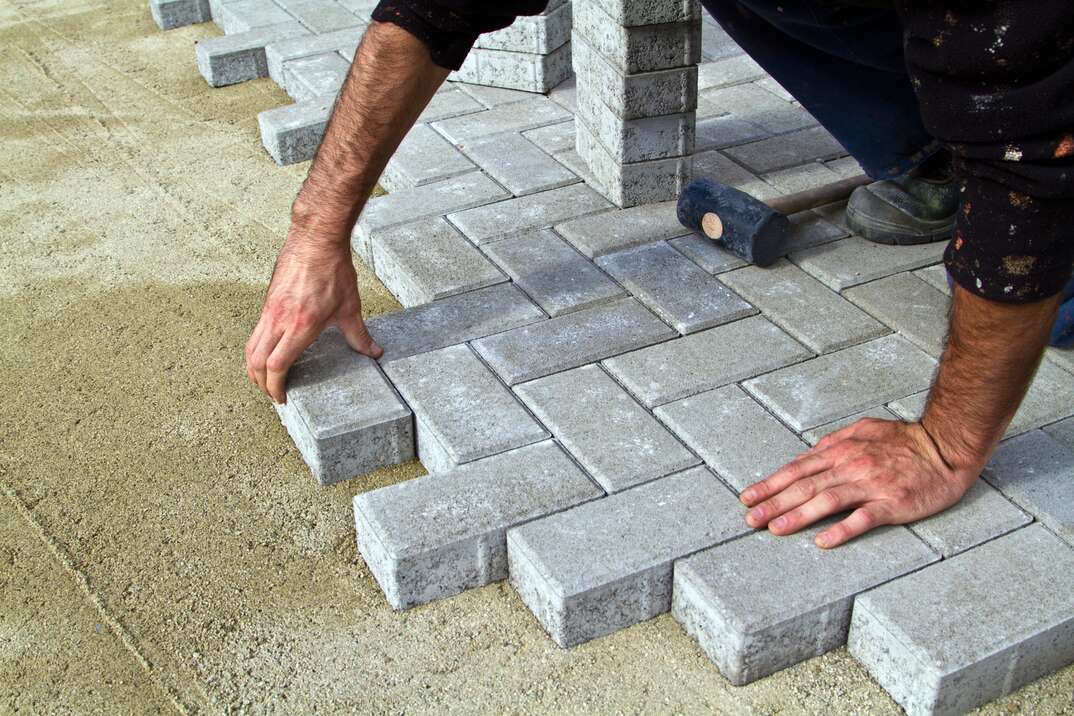
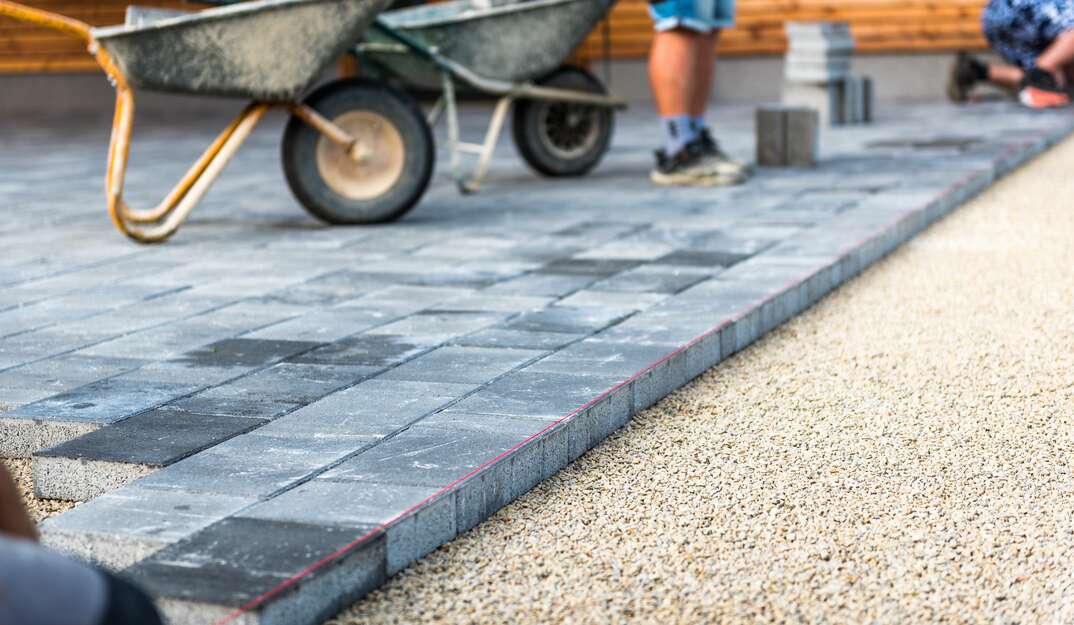
Once the ground is ready, set down the first paver starting at one of the corners. When you lay down the pavers, try not to drag them across the sand. Instead, set them down from above, next to their neighbor paver. You can make light adjustments between the pavers so they fit tightly next to each other.
When it comes to paver patterns, you have a lot of options. Ultimately, it comes down to how you want them to look and how easy you'd like the installation to be. Patterns with more unique designs might require a higher skill level to install because you’ll need to cut the pavers. A straightforward design is the basket weave pattern. This involves alternating blocks made of two horizontal and two vertical pavers next to each other. There is little to no cutting involved with this simple design, making it a convenient option for the average person.
6. Ensure Pavers Are Leveled
As you set the pavers down, use your level to make sure they’re even. If some need to be pushed down, tap on them slightly with a rubber mallet. If they need to be moved higher, add some more paver sand below them.
7. Add Paver Edging
Depending on what you’re installing the pavers against, you might need to install paver edging to help keep the outside pavers in place. There are two main ways you can go about this: edge restraints or concrete. You can add paver edge restraints and anchor them with spikes. Or, you can add concrete to the edges. If you live in an area with fluctuating weather, concrete might not be the ideal solution since it’s prone to cracking and chipping.
8. Spread Polymeric Sand Over Patio
After the pavers have all been laid down, spread polymeric sand all over the patio and sweep or rake so the sand goes everywhere. The goal is to get the sand between the pavers to help them stay in place. It also prevents weeds from growing in between them.
9. Water the Patio
After the sand has been spread all across the patio, you can now remove it. Either sweep it or use a leaf blower. All sand must be removed from the cover since the next step is to water it. If you don’t remove all the sand, you’ll be left with sand stains. After removing the sand, spray the patio with water. The water will harden the sand, helping the pavers stick and remain in place. Let it dry and cure for at least one day before you use your new patio.
Since we’re all home now more than ever, being prepared for unexpected home repairs with a plan from HomeServe is important. Having a plan in place gives you peace of mind knowing that you can simply call our 24/7 repair hotline for covered breakdowns. See what plans are available in your neighborhood.

