How to Install Window Blinds: Your DIY Guide

Installing Blinds at a Glance
- Step 1: Determine bracket location
- Step 2: Mark bracket location
- Step 3: Drill pilot holes
- Step 4: Install brackets
- Step 5: Mount blinds
Even if you consider yourself handy, the words “semi-permanent installation” might give you a bit of pause. When put that way, installing blinds may seem like more than you can handle. However, with the right tools, it can be a Saturday morning project that lets you add ambiance, privacy and some window-related climate control to your living space.
This May Also Interest You: 8 Easy DIY Home Maintenance Tips
Still unsure whether this is a job you want to tackle yourself? Here’s what you need to know about hanging blinds.
Can You Install Blinds Yourself?
Depending on your confidence and know-how with tools, you can certainly handle a window blinds installation task. It is, however, a DIY project that you might want to do with a family member or friend. You might want to have someone who can give a second opinion on whether things are looking straight and have them hold items in place as you work.
Do You Need a Drill to Put Up Blinds?
Having a drill makes a DIY blinds installation a lot easier in most cases. Honestly, having a basic drill around the house makes a lot of DIY projects easier, so you may want to invest in one.
While you might be able to figure out how to install blinds without a drill, using one reduces the risks of damaging the window frame or other areas of the home. Using a drill also helps ensure your blinds are properly secured and can reduce issues such as sagging or falling later.
How Do You Install Blinds Properly?
The exact steps to install blinds depend on the type of window covering you choose and your unique window orientation. Oddly shaped windows, for example, may call for a different approach. The basic steps for installation are covered below.
1. Decide Where to Mount the Brackets
First, decide whether you want to mount the brackets inside or outside of the window frame. This just comes down to a preference. Do you want the blinds to hang inside the frame or over it? Choose inside if you want to couple blinds with curtains, have furniture that will sit in front of the window or want to minimize people catching on the blinds. Choose outside if you want to cover the window frame or if the window frame itself isn't deep enough to house blinds.
2. Mark Where You Want to Install the Brackets
Use a pencil to mark where you want to install the brackets. Hold the mounting bracket where you want to install it after you've done some measuring and planning. Using a pencil, mark on the wall or window frame where the holes in the mounting brackets sit. This provides a guide for where the drill holes need to go.
3. Drill Pilot Holes
Drill some pilot holes where you placed those marks. Use a drill and bit that roughly matches or is slightly smaller than the screws that came with your blinds. Create pilot holes by drilling slightly into the frame or wall where the pencil marks are for the bracket holes.
4. Install the Brackets
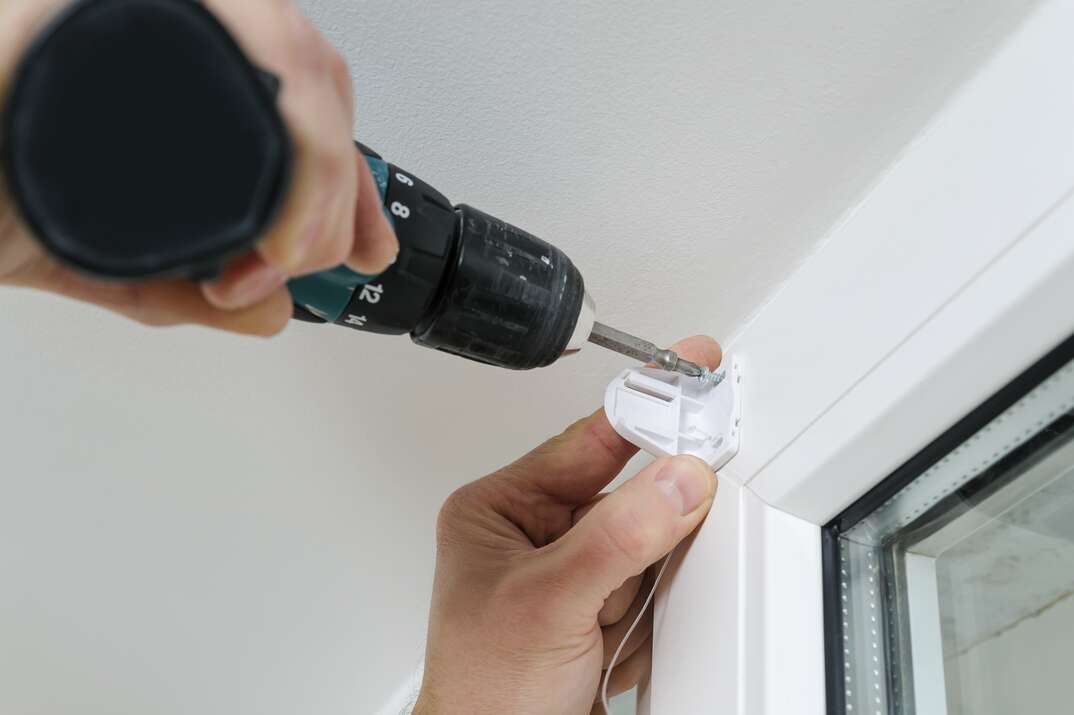
Install the brackets using a drill and the hardware that came with the blinds. Hold the brackets in place while you use a drill to mount them with the screws provided in your kit. If you're mounting the brackets into the wall, you need to ensure you're mounting to a stud or using the proper drywall mounting hardware. This type of hardware may or may not come with your blinds, so buy it separately if necessary.
5. Mount the Blinds on the Brackets
Once the brackets are installed, follow any instructions that came with your blinds to mount them onto the hardware. Then, install any other items that came with your blinds. That might include the tilt wand or brackets to help hold the bottom of the blinds in place.
More Related Articles:
- Best Ways to Upgrade Your Home for Under $150
- How to Insulate Windows
- Save Yourself Some Pane With Our DIY Window Repair Guide
- 5 Reasons to Remove Your Window Screens for Winter
- The Do’s and Don’ts of Caulking Windows
A Note About Measuring Blinds
One of the more challenging parts of a DIY blinds installation job is the measuring. All of the steps above go a lot smoother if you're working with the right size blinds.
Begin by measuring your windows. If you're installing blinds within the frame, measure from the inside frame to the inside frame on the other side to get a width. Now repeat the process and measure from the inside top to the inside bottom.
If you're installing brackets and blinds outside of the frame, measure from where the brackets will mount to where you want the bottom of the blinds to hang. Then, measure from the edge of the outside of the frame to the edge of the outside frame on the other side of the window. This is the minimum width to cover the entire window.
If you're shopping for blinds with horizontal slats, the width is the most important measurement. That's especially true if you're hanging them inside the frame. If they're too wide, they won't fit. However, since blinds can be raised and lowered, you don't necessarily need an absolutely perfect vertical fit for these types of blinds. If you're shopping for blinds with vertical slats, the opposite is true. As long as you have enough horizontal length to cover the window, you're good, and it's okay if you have a little extra.
That being said, you do want to do your best to get the closest size possible just to keep your price point down. The longer the blinds, the more materials required, and that can increase the cost.
A plan from HomeServe can help you be prepared for unexpected repairs and maintenance. Having a plan in place gives you peace of mind knowing that you can simply call our 24/7 repair hotline for covered breakdowns. See what plans are available in your neighborhood.


