Bid Your Boring Toilet Farewell: How to Install a Bidet
Installing a Freestanding Bidet at a Glance
- Step 1: Ensure you have proper plumbing and drainage
- Step 2: For wall-mounted bidets: Attach frame to wall
- Step 3: Secure bidet to wall or floor
- Step 4: Connect hot and cold water supply
- Step 5: Connect drain line
- Step 6: Check for leaks and seal
Installing a Bidet Seat at a Glance
- Step 1: Remove old toilet seat
- Step 2: Turn off water supply
- Step 3: Install T-valve
- Step 4: Attach bidet seat
- Step 5: Connect bidet to water supply
- Step 6: Plug it in
Bidets — often associated with European and Japanese bathrooms — have made their way stateside. Some champions of the devices like the squeaky-clean feeling only a jet of water can provide. Others have switched to bidets as a way to use less toilet paper, either for environmental or economic reasons.
This May Also Interest You: What’ll a New Toilet Do to Your Bottom Line? Here’s What It Costs
Looking to upgrade your bathroom with a bidet? There are two options: installing a freestanding bidet or adding a bidet seat to your existing toilet. We’ll discuss both types, what tools you’ll need and how to install them.
How to Install a Freestanding Bidet
There are a few research steps you should take if you want to add a bidet to your bathroom.
First, do you have the space? A freestanding bidet requires about the same amount of space as a toilet. You should have an area about 30 inches wide and about 4 feet deep.
Second, what’s your plumbing situation? Bidets require a hot and cold water supply because they have mixing valves similar to faucets, which allow you to adjust the rinse water to your desired temperature. When purchasing your bidet, be sure it has a vacuum breaker to make sure wastewater isn’t pumped back into the supply system.
Waste lines are something else to consider and are different than when installing a toilet. You will need to install a trap in the rough plumbing underneath the floor for a bidet, as toilets have internal traps, but bidets do not. You will need a drain for the bidet as well.
Floor- or Wall-Mounted Bidet?
Bidets come either floor-mounted or wall-mounted. For a floor-mounted bidet, the drain is (surprise!) in the floor, but the water supply could come from the floor or the wall. If you are getting a wall-mounted bidet, you will need to fix a special frame to the wall and then attach the bidet. With a wall-mounted bidet, all the plumbing connections come from the wall, and all necessary mounting bolts that you’ll attach to the frame should come with the bidet.
With either type of bidet, carefully review the installation instructions to make sure your rough plumbing is in the correct location for the bidet. Also, keep in mind you may need to do some drywall and tile work after the bidet is installed.
You should figure out your current plumbing situation, supply lines and what you will need to install before beginning any work. You may want to call in a plumber to make sure you have the correct piping and that you understand how to connect it to your bidet.
Floor-mounted bidets are a bit easier to install — similar to putting in a toilet. For the wall-mounted ones, you may want to have a friend around to help, as you’ll need to support the bidet from above while simultaneously securing the mounting bolts from below. Once your bidet is securely attached to the floor or the wall, connect the hot and cold water supply tubes to the shut-off valve and connect the drain line. Connect the water supply and check for leaks. If you find any, apply a silicone sealant.
More Related Articles:
- Stop Flushing Money Down the Toilet: Go Low-Flow
- How to Fix Your Toilet Handle in 6 Steps
- Ever Wonder What a Composting Toilet Is?
- DIY Plumbing: How to Install a Toilet
- How to Fix a Clogged Toilet
How to Install a Bidet Seat
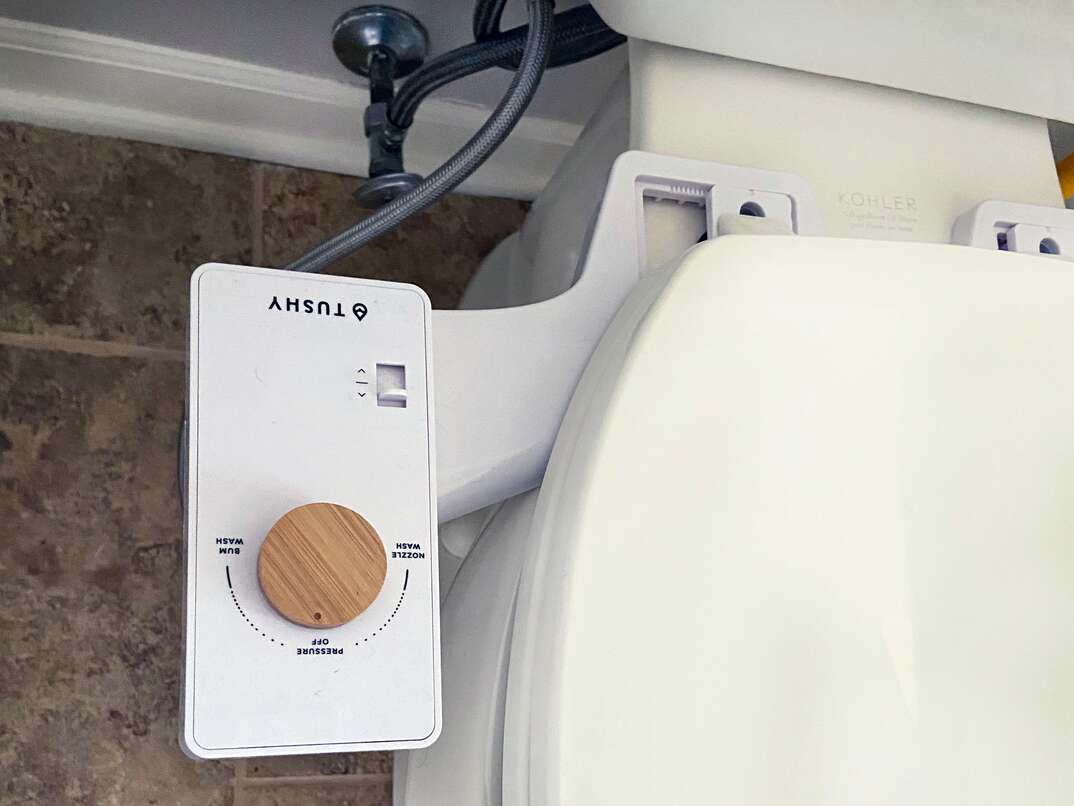
Adding a bidet to your toilet is a quicker and easier process. A bidet attachment sits on top of or below your existing toilet seat. Adding a bidet to your toilet is a great option if your bathroom doesn’t have the space for a freestanding bidet, or if adding the necessary plumbing lines would pose too much of a challenge. They are more cost-effective, and you’ll probably be able to handle the install yourself. You won’t need the services of a plumber, but you may need to consult an electrician. More on that later.
As you’ve learned, installing a freestanding bidet requires the correct plumbing lines and some carpentry work to attach the bidet to either the floor or the wall. None of this is required with a toilet seat bidet as they use your toilet’s existing water supply.
Once you’ve purchased your bidet toilet seat, you will also need to have on hand a screwdriver (flathead, Phillips or both depending on the toilet's and bidet’s screws), adjustable wrench, towel and bucket.
Read these bidet seat installation instructions carefully before getting started:
1. First things first: Remove your old toilet seat. You should see the mounting bolts on top of the toilet’s rim. Sometimes they are hidden by plastic covers. Use your screwdriver to remove them. Your seat should come right off. Note: Some bidet seats use the existing toilet seat, so don’t throw the old one out until you verify whether you’ll need it. Give the rim a nice clean before installing your new seat.
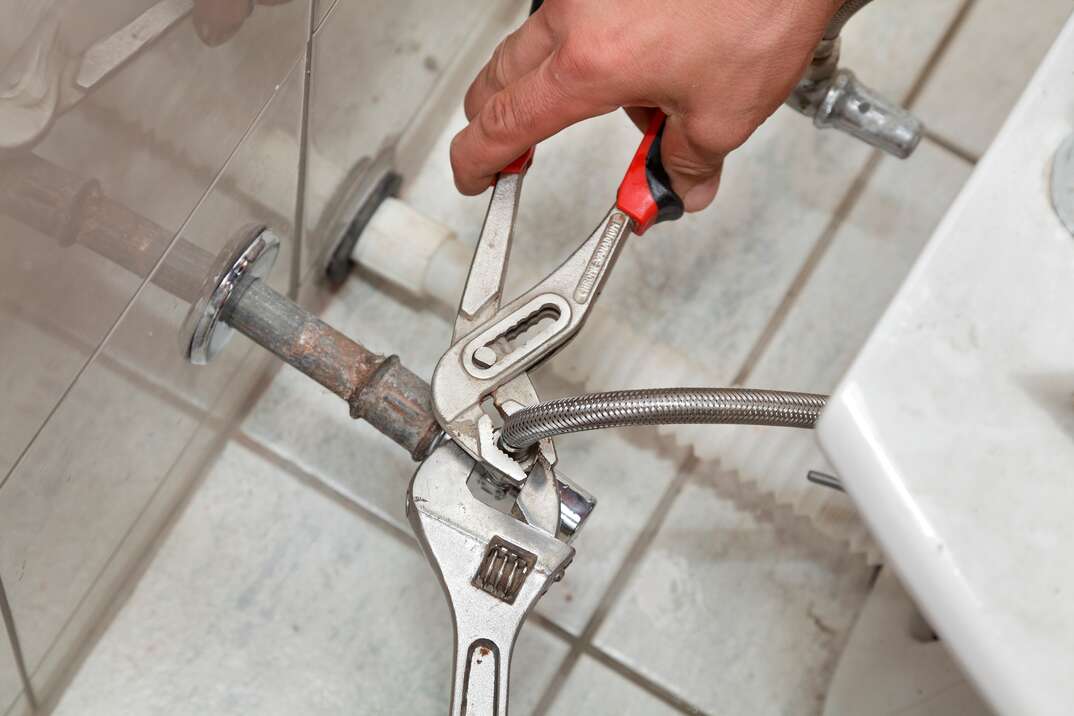
2. Turn off your toilet's water supply. You should find the shut-off valve behind the toilet, close to the floor. There should be a hose running from your toilet tank to a water supply pipe on the wall. A valve will connect the two, and this is what you should shut off. Turn it clockwise until you can’t turn it anymore. Flush the toilet to get rid of the water in your tank.
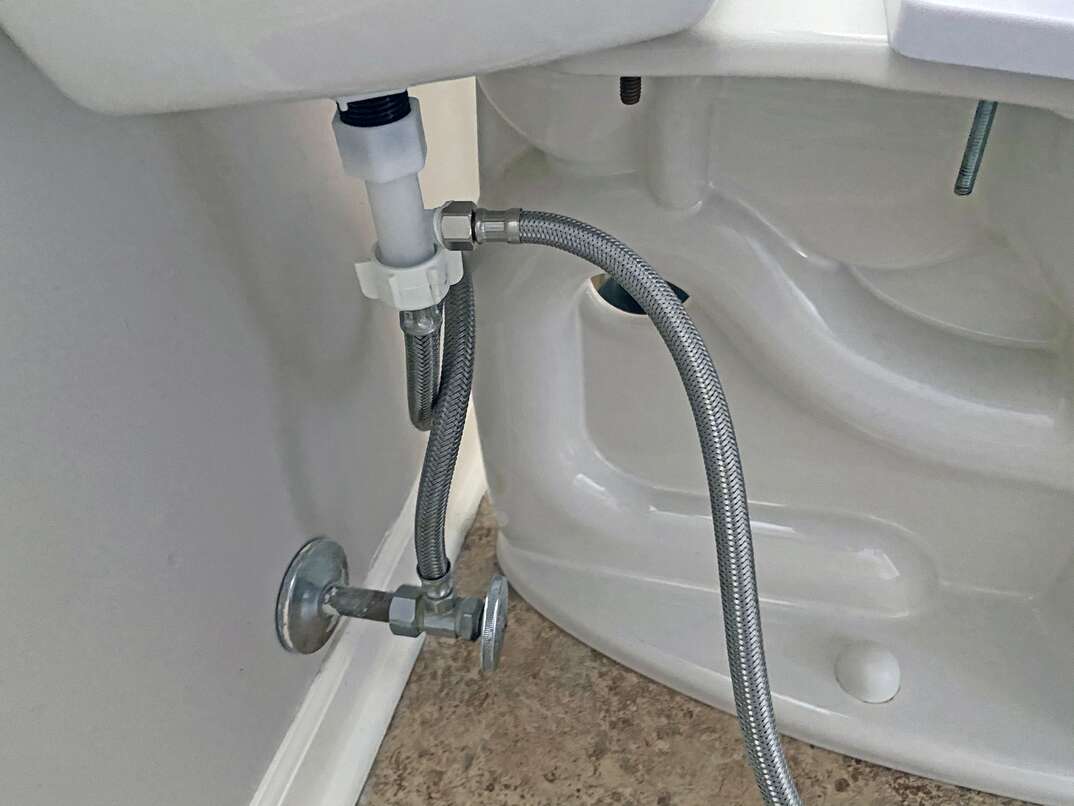
3. Next, you need to install the T-valve. The T-valve will come with your bidet toilet seat and is used to switch the water between the toilet and the bidet sprayer. First, unscrew the supply hose from the bottom of the toilet tank. Have your towel and bucket handy as there may still be a small amount of water in the tank. Now attach the T-valve to the bottom of the toilet tank, where the supply hose was attached. Then reattach the supply hose to the bottom of the T-valve.
4. Now it’s time to attach your new bidet seat to the toilet. A flat mounting plate should come with your bidet seat. Using the existing holes in the rim as your guide, align the mounting plate on the back of the rim. Use the mounting bolts that came with your new seat and secure them with nuts on the underside of the rim. The nuts and bolts may be metal or plastic, so use a wrench or screwdriver accordingly. Once the mounting plate is secure, slide the bidet seat towards the back of the toilet. It should click into place.
5. Connect the bidet seat to the water supply. The bidet seat will have its own water hose. Attach one end to the connection on the side of the seat and the other end to the opening available in the T-valve. Make sure these connections are tight; leaky water hoses are no fun. Turn your water shut-off valve back on. Your toilet tank will start to fill up with water and this will help you check for leaks. Tighten the hoses if necessary.
6. Remember the electrician? Your bidet toilet seat may need to be plugged into a power supply if it has extra features like a heated seat or warm air drying feature. If so, it's important that you only plug it into a grounded GFCI outlet. These special outlets are standard in bathrooms and kitchens to prevent accidental electric shock. If you don’t have an outlet within reach, you may want to consult with an electrician to find out the safest options. Or, you can simply forgo a seat that needs power and use one that works solely with the clean water supply to your toilet.
Whether you’ve installed a freestanding bidet or chosen a bidet toilet seat: Job well done. You’re all set to take a seat.
