How Much Does It Cost to Install Recessed Lighting?

Recessed Lighting Installation Costs at a Glance
- Slim-profile cans: $15-$50 each
- New-construction cans: $7-$60 each
- ‘Airtight’ cans: $12-$60 each
- Remodel cans: $12-$80 each
- Insulation-contact-rated cans: $12-$80 each
- Vaulted-ceiling cans: $30-$120 each
- Standard ‘baffle’ trim: $7-$40
- ‘Decorative’ trim: $20-$200
- Other trim styles: $9-$150
- Electrician cost per hour: $50-$100
- Electrician total price range: $300-$600
- Per-can total cost (can plus labor): $200-$225
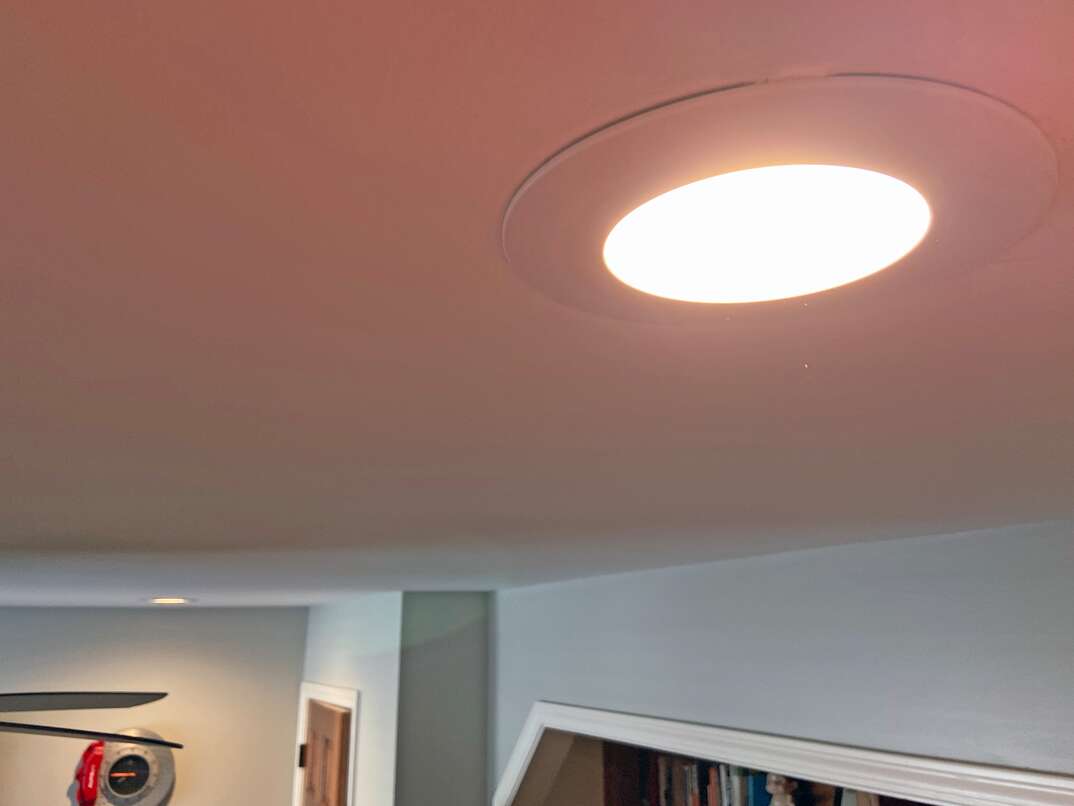
For a clean, functional lighting solution, it's hard to beat recessed lights. While flashy chandeliers or modern track lights can add flair to a room, recessed lights provide even, well-dispersed lighting in an entire space. Recessed lights are ideal for use in rooms with low ceilings, as they don't protrude into the limited vertical space, but they can also add a sophisticated feel to larger spaces, with some lights specially designed to be installed on vaulted ceilings. Additionally, recessed lights can be used to spotlight a particular area in a home such as a piece of artwork.
This May Also Interest You: Transforming a Room: How to Change a Light Fixture
Installing recessed lighting is fairly affordable but, as with all projects, it depends on where you live, whether you do the job yourself, and the home in which you’re installing the fixtures.
To get a handle on how much recessed lights will cost you, it's helpful to understand how the lights are constructed and installed. Let’s first assume you'll be doing the work yourself, and then we'll follow up with costs associated with professional installation. That said, because electrical work is critical to do correctly for safety’s sake, unless you’re very well versed in this type of project, we advise that you do, in fact, leave it up to a pro.
Can It!
The first component to be installed on a recessed-light project is known as the “housing” or, more commonly, the “can.” This is a metal cylinder with an attached electrical box that’s installed through the ceiling either from below or above. Homes with attics offer the easiest path to installing recessed lights, as you can work from above, avoiding joists and easily running wires from the main box to each light.
If you don't have an attic space, or will be installing lights on a lower floor, the process needs to happen from below. In this case, the location of each joist will need to be marked using a stud finder so that they can be avoided when holes are sawed to receive the cans.
Recessed-lighting kits available at home improvement stores come with a template you can use to mark the location of each light. Once the template is stuck to the ceiling, a hole can be made by tracing its outer edge.
Electricians will be aware of this, but if you tackle the project yourself using standard cans, you'll want to be sure that you have at least 8 inches of clearance above your ceiling before installing your cans. You can check for this by drilling a hole in the likely location of the light and then pushing an 8-inch wire through the hole. If you don't hit any resistance, you're good to go — but, if you do, then you'll need to use slim-profile cans that require only 4 inches of clearance, which can cost between $15 and $50 each.
Once the hole is cut, you'll want to connect the wires from your main panel to the can's electric box. Once that's complete, you simply push the can through and pop out the clips embedded on the sides. These clips will anchor on the other side of the ceiling and hold the can flush.
Kinds of Cans and Their Costs
Cans come in a variety of styles based on the type of installation you’re undertaking. New-construction cans, which are best to install when a home is being built, run between $7 and $60 each. Cans that have an “airtight” designation cost between $12 and $60 each. These cans are helpful to use if you want to completely seal the space between the two sides of the ceiling on which the lights are installed. While this can cut down on utility costs by keeping warm and cool air from mingling, you'll want to avoid these cans if you need your home to exchange air between floors such as, for example, if you use a wood-burning stove for heat.
“Remodel” cans are best used when you’re retrofitting a home with recessed lights; they cost between $12 and $80 each. That's the same price range for IC-rated cans, which are used when your housing will be in close contact with insulation in the ceiling. IC stands for “insulation contact” and these cans are specially shielded to prevent heat from the light melting or harming your home's insulation. Finally, cans designed to go into vaulted ceilings are shaped to be installed on an angle and cost between $30 and $120 each.
Trim
After choosing the right cans for the job, you'll need to pick out the trim. Trim slides up into the hole you've made for your can from the ceiling side, and hides any jagged cut marks as well as the unfinished rim of the can. Standard trim, known as baffle trim, will be good enough for most homeowners’ needs. Usually sold in white, this trim has a ridged interior surface and a smooth white lip that sits flush against the ceiling; it costs between $7 and $40.
If you’re looking to aim your light in a particular direction — on a work surface or particular architectural feature, for example — you'll want to use “eyeball” trim, which has a dome that swivels and shields the light from one direction while concentrating it in another.
The most expensive trim is known as “decorative” and will run between $20 and $200. This type of trim can add a nice architectural flourish to your lights with a variety of different embellished options. Between baffle trim and decorative trim, you'll find a wide range of other styles — such as those intended for installation in a shower — and they all run somewhere between $9 and $150.
More Related Articles:
- How to Install a Dimmer Switch
- How to Clean and Maintain Light Fixtures
- Top 4 Benefits of Lighting Control Systems
- LED Light Bulbs Vs. Compact Fluorescent Light Bulbs: Which Should You Buy?
- What Are the Types of Light Bulbs?
Go Pro
As previously mentioned, unless you’re very well-versed in electrical issues and carpentry projects, installing recessed lighting is best left to professionals.
When figuring out how much an electrician will charge to put in your lights, a good rule of thumb is that it takes about 30 minutes to an hour to install each can. The length of time will depend on how easy it is to access the necessary space to do the wiring. Also, on average, most rooms will use about six recessed lights. Electricians generally charge between $50 and $100 an hour, so if you’re installing six cans, you can expect, at the low end, to pay roughly $300 in labor costs, while the high end will cost twice that amount.
Putting It All Together
As you can see, there are many factors involved in determining the cost of installing recessed lighting. However, for a general guide, according to fixr.com, electricians usually charge $75 per can in new-construction homes plus $75 each in wiring charges. Add to that a mid-range can and trim package of about $50 per light and you're looking at $200 per can, or $1,200 for a room with six lights. Retrofitting lights into an older home will cost a little more, with electricians charging around $225 per can, so a room with six lights will run you approximately $1,350.
Considering that some chandeliers and other high-style lights can easily cost that much or more, recessed lighting proves to be a pretty good bargain.
Speaking of bargains, you might find that a plan from HomeServe is a value for you. Once you have a plan in place and a covered issue arises, you can simply call the 24/7 repair hotline. A local, licensed and highly trained contractor will be sent out to you to get the job done to your satisfaction.


